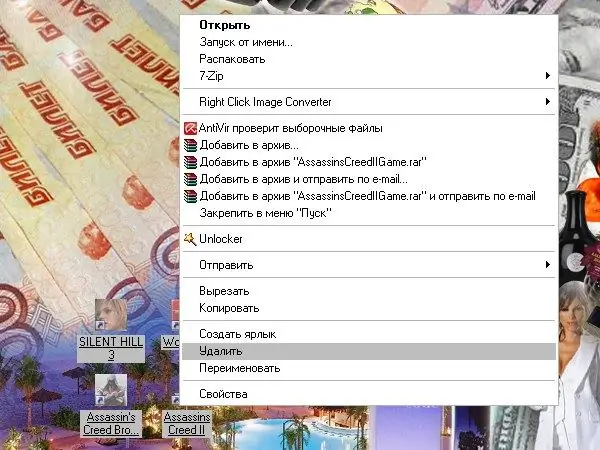
If the user wants to customize the look of the "Desktop" to his own liking, he needs to know how to work with the various elements on it. Icons located on the "Desktop" can be hidden, moved, deleted. Many of these actions are performed in several stages or steps.

Necessary
- -mouse;
- -keyboard;
- -Component "Folder Options";
- -component "Screen".
Instructions
Step 1
Different icons can be located on the "Desktop": files, folders, shortcuts. After installing the operating system, all the icons that the user sees on the "Desktop" are shortcuts for launching programs installed on local disks of the computer. Even folders such as "My Computer", "My Documents", "Trash" are also just shortcuts. "Real" folders and files appear later, when the user creates them himself.
Step 2
If you need to remove some of the shortcuts (folders, files) from the "Desktop", select them with the mouse and press the Delete key on your keyboard. Another option: select the icons and click on any of them with the right mouse button, in the drop-down menu select the "Delete" command. Answer affirmatively to the request for confirmation of deletion. The icons will be placed in the Trash.
Step 3
To remove items such as "My Computer", "Network Neighborhood", "Trash", "My Documents", click anywhere in the "Desktop". Select "Properties" from the drop-down menu. The "Properties: Display" window will open. Go to the "Desktop" tab and click on the "Desktop Settings" button. In the window that opens, go to the "General" tab and remove the marker from the fields of those elements that you want to remove from the "Desktop". Apply new settings, close the window.
Step 4
To remove the files and folders you have created from the "Desktop" and move them to another directory, select the necessary files and folders and place them on the clipboard. To do this, right-click on any selected icon and select the "Cut" command from the drop-down menu.
Step 5
Go to the new directory for placing the files, right-click anywhere in the open folder and select the "Paste" command. The "Paste" command can also be called from the "Edit" item of the top line of the folder menu. It makes no sense to move program shortcuts in this way.
Step 6
To hide the icons of files and folders, move the cursor to each desired icon and click on it with the right mouse button. Select "Properties" from the drop-down menu. In the dialog box that opens, go to the "General" tab and set the marker in the field opposite the inscription "Hidden". Click on the "Apply" button, close the window.
Step 7
Call the "Folder Options" component. To do this, through the "Start" menu, call "Control Panel" and in the "Appearance and Themes" category, click on the "Folder Options" icon. Alternatively, open any folder and select "Tools" in the top menu bar, select "Folder Options" from the drop-down menu. A new dialog box will open.
Step 8
Go to the "View" tab in the window that opens. In the "Advanced options" section, use the scroll bar to find the "Hidden files and folders" item, set the marker in the "Do not show hidden files and folders" box. Click on the "Apply" button and close the window. Any files and folders that you made hidden will remain on the Desktop, but will be invisible.


