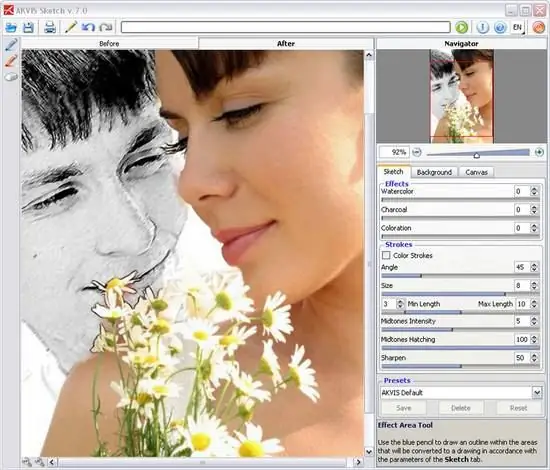
If you have already started to master Photoshop, you know that it has a lot of different filters and plugins for processing and optimizing photos. All plugins are located in the Filter menu, and for novice users their number may seem intimidating. Nevertheless, understanding Photoshop plugins and their purpose is not as difficult as it might seem at first glance.

Instructions
Step 1
All editor plugins are divided into groups depending on what they are used for. If necessary, you can download any new plug-in from the Internet and install it in Photoshop by copying it to the appropriate folder of the main program directory.
Step 2
One of the handy and commonly used filter groups is the Sharpening Filters. If you want to sharpen a blurry photo and improve its quality, use the filters of the Sharpen group for this. A simple Sharpen filter differs from Sharpen More in the intensity of the effect on the photo.
Step 3
You can also use the Sharpen Edges filter, which increases the contrast of the edges of the image, and the Unsharp Mask filter, which allows you to quickly and qualitatively enhance the clarity of photos.
Step 4
Filters for blurring images are also often used - filters of the Blur group. In order to simply blur the photo, use the Blur and Gaussian Blur filter, in which you can adjust the blur radius.
Step 5
With the Radial Blur filter, you can give your photo an interesting rotating effect. In the Smart Blur filter, you can fine-tune the blur level for specific parts of the photo. Use the Motion Blur filter if you want to simulate the effect of a moving subject in a photo.
Step 6
Apart from photographic, graphics. Among the artistic filters (Artistic group), you can use Colored Pencil to create a drawing effect, a Dry Brush filter that simulates a dry brush drawing, and many other artistic filters that can be fine-tuned in the corresponding gallery.
Step 7
You can give a photo the effect of black and white pencil drawing, mural, mosaic, pastel drawing, plastic relief, and so on. Also for artistic purposes you can use the filters of the Brush Strokes and Sketch groups.
Step 8
To distort the photo or some of its areas, use the filters of the Distort group, and to stylize and give the image various effects, use the filters of the Stylize group.


