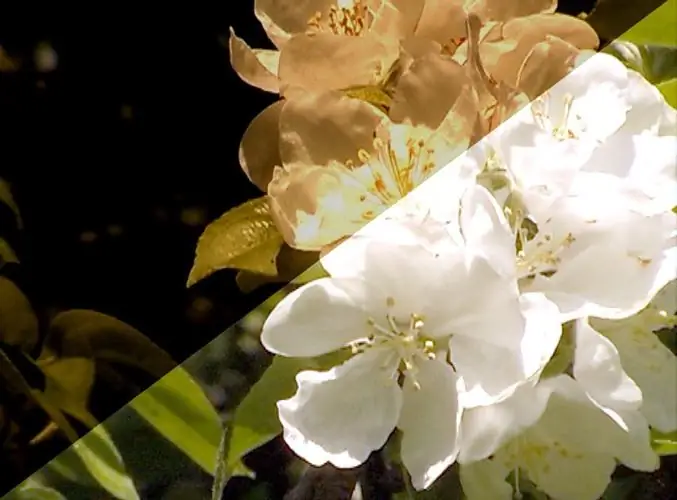
Often due to the imperfection of the automatic camera setup mode, the unprofessionalism of the photographer, or in situations where photography is taken under unfavorable lighting, the final images are too dark. Using the tools of the Adobe Photoshop program, the situation can be corrected.

Instructions
Step 1
Load the file with the photo. Previously, if necessary, crop the extra edges of the frame - before us is a snapshot in its final size. If the picture is too dark and even the brightest areas and details on it look muted, it is recommended first of all to carry out one simple operation. In the Image menu we find the item Auto Contrast (Automatic restoration of contrast).
It must be said that this action, unlike many other operations, does not lead to the loss of information in the image, no detail from the photo disappears, which is very important for subsequent processing - the dynamic range of the image is simply optimized (the lightest areas become as lighter as possible, the darkest are indeed the darkest). In this way, errors made when choosing an exposure can be corrected, whether they were provoked by the inept actions of the photographer, or were caused by the camera's automation.
As a rule, after this operation, the image becomes lighter and more legible.
Step 2
Now let's make changes to the general gamut of the photo. Apply the command Levels (Levels), in the menu Image> Adjustments> Levels or by pressing Ctrl + L. To align the tonality of the picture, move the middle slider under the histogram to the left until the illumination of the picture reaches the required, eye-pleasing level.
Step 3
It is worth warning that this method of correction is safer than, for example, the standard Brightness / Contrast operation. The fact is that when we simply brighten the picture, making the details of average brightness lighter, then those details that were already bright just go beyond the dynamic range, i.e. information is destroyed - in place of light transitions, large monochrome bright spots are formed, the former image inside them disappears. The sky becomes like a patched rag, illuminated faces turn into flat pancakes, etc. Therefore, if you still have to use the Brightness / Contrast panel, please note that it can only be used for cosmetic purposes. To correct the overall gamma of the photo, it is better to use the Levels command, as described above.


