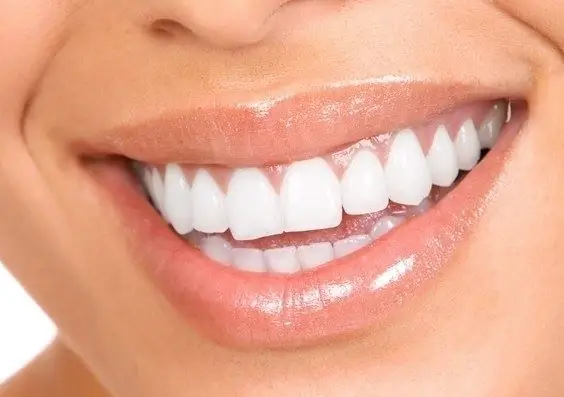
It's nice to look at photos with smiling people, because laughter raises your spirits and charges you with positive emotions. However, many people are embarrassed to smile in front of the camera because of the yellow plaque on their teeth. Agree, the thing is unpleasant, and such images will not delight others. It is possible, or rather even necessary, to deal with this problem. You can easily lighten teeth in photos using the Photoshop program. And then your smile will really "shine".

Necessary
- - photograph with a smile;
- - plugin Color Efex Pro.
Instructions
Step 1
Open the selected photo in the program window. Study it carefully for a few minutes. Take a closer look at the angle at which the light hits the person's face. From the side toolbar, select the lasso and zoom in to make your work easier. Begin to highlight the area of the teeth, while being careful not to touch the gums.
Step 2
In the top menu, find the "selection" function and select "feathering". In the window that appears, enter a number from 1 to 10. For low-resolution photos, it is best to enter one. For high quality photos, adjust the value according to the size of the displayed smile. Confirm the selected action by clicking OK. Now you can see how the border between the selection and the rest of the image has ceased to be conspicuous.
Step 3
In the main menu of the program, find the "image" tab and select "correction" and then "hue / saturation". Select yellow from the list that appears. Move the slider to the left until the yellow teeth in the photo completely disappear. After that, you will need to work with all the colors at once. Move the slider to the right to brighten your teeth. Just don't overdo it, or your image will look unnatural. Deselect the selection by pressing Ctrl + D and then save the result.
Step 4
In addition to this method, there is another, easier and faster one, but it requires the installation of a special plug-in. Run the Color Efex Pro plugin in addition to Photoshop. It weighs a little, so downloading it from the Internet will not be difficult for you.
Step 5
Open the photo you want in Photoshop and go to Efex Pro. Select the White Neutralizer filter and you will see a new window that opens, in which set both values to 100%, and leave the color as default.
Step 6
Find the Control Points column and click on the plus button. Now you need to put a point in the very center of the teeth, for this, left-click once in the selected place. Now you can see that a small circle has appeared next to the set point. Hover the mouse over it and start gently pulling to the left until the filter area covers all the teeth. Once this happens, click OK.
Step 7
Take an eraser (always with soft edges) and work with it on the parts of the mouth that have come under the clarification. In case the filter has made your teeth unnaturally white, try reducing the opacity of the second layer. Please note that the layer is created automatically.


