When drawing up graphs, reports, diagrams, for clarity, it is often required to add various diagrams. They can be inserted into any document of the text editor Microsoft Word.

Necessary
- - computer;
- - installed Microsoft Office.
Instructions
Step 1
Microsoft Office is a universal program that allows you to perform a wide variety of operations with documents, from simple typing and editing text to creating various schemes, tables and diagrams in it. You can add diagrams to a document in an existing project or in a newly created one.
Step 2
Open a text document. Or right-click on an empty space on the desktop or on an empty space in the folder where you intend to place the file and select the "New" option. Then in the drop-down window select the document type - Microsoft Word. Rename the file and open it for further work.
Step 3
If in addition to the diagram in the document you need an explanation, write the text. Then on the top toolbar, find the "Insert" item. Click on the button and in the drop-down table select the type of insertion - "Picture". Then mark which object you want to add to the document. In this case, you will need the "Diagram" item.
Step 4
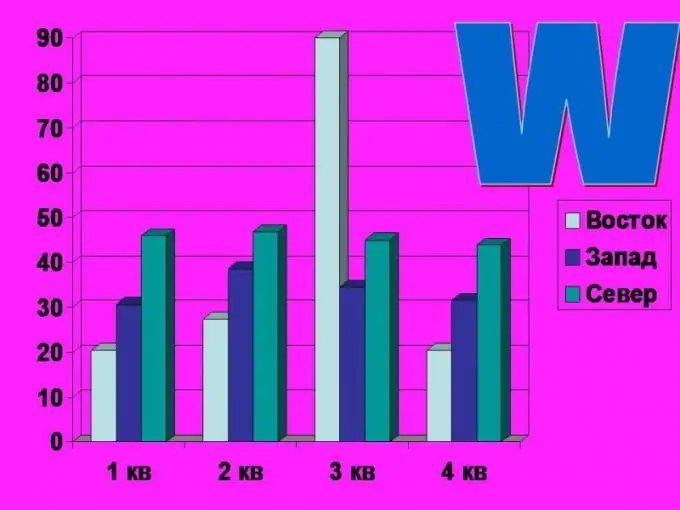
Click on the link to add a diagram. By default, all diagrams are of the same type. But if necessary, you can add your data to the table. To do this, in the table that appears along with the diagram, instead of the words "East", "West", "North" add your parameters. For this, it is enough to put the cursor in the table row and specify the required data. The first column contains the title. In the second, third and subsequent ones - numeric data.
Step 5
Moreover, the number of indicators can be unlimited. As many parameters as you need, you can add as many parameters to the table. Place the cursor in the appropriate column and write the required names and numerical data.
Step 6
By clicking on the diagram and right-clicking on the "Object format" option, you can modify your diagram, its background, title, position on the page, size and other properties.
Step 7
To edit the diagram, select the "Edit" menu on the toolbar and the "Chart Object" option. Specify the desired function "Modify", "Open" or "Convert". Make changes.
Step 8
You can go to edit mode in another way. To do this, just click on the picture and with the right mouse button select the "Object Diagram" item.


