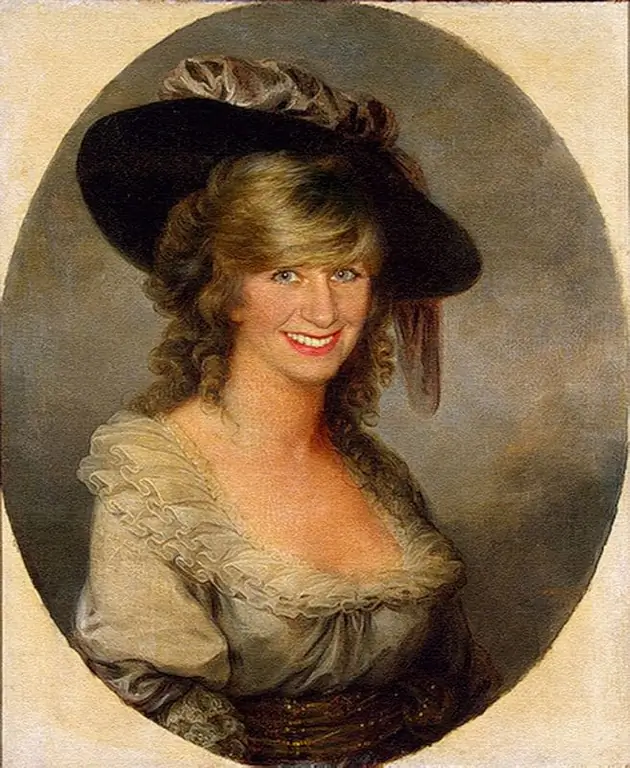
Surely you have come across a desire to try on someone else's appearance, to see yourself or your friends in the guise of a celebrity or a hero of a painting from the Renaissance. Photoshop can easily turn you into a historical character or famous person if you learn how to use it to insert faces into images of other people in photographs and paintings. The effect of your actions will be as realistic as possible, and the work will not take more than half an hour.

Necessary
Adobe Photoshop program
Instructions
Step 1
Open two images in Photoshop: your own photo, from which you want to take a face; and then the painting you want to place it on. If you do not like the existing hair color or shade in the painting or photograph you will be working with, use the Dodge or Burn tool, with which you can darken or lighten the hair of the original character, making it more similar to yours.
Step 2
Compare the painting to your photograph. If they differ too much in brightness and color, adjust them in the Levels and Hue / Saturation sections until your face in the photo is similar in tone to the overall tone of the original painting. In addition, the Color Balance and Curves commands can help you adjust colors and tints.
Step 3
Take the Lasso Tool and cut out your face from the photo. Move it to the place of the person's face in the painting, adjust the size and position using the Free Transform tool. Head position, tilt and proportions should be consistent with the overall image.
Step 4
Take a soft eraser, set its opacity to no more than 50% and, zooming in for accuracy, start erasing the excess around your face until its shape completely matches the shape of the original face on which you superimposed your photo. The facial contours of you and the original should be the same.
To make the modified photo look more natural, cut out the face with part of the neck, and also keep the edge of the hairstyle above the forehead when cutting. This will make it easier to fit your face into someone else's.
Step 5
To make the new image look even more natural, work with shadows. See how the light falls on the person in the original painting, and where the shadows should lie. On the face, shadows can be easily made using the Burn tool. Don't overdo it with the shadow, it should be light.
If you are satisfied with the result, you can finish the work, the face is inscribed in the picture.


