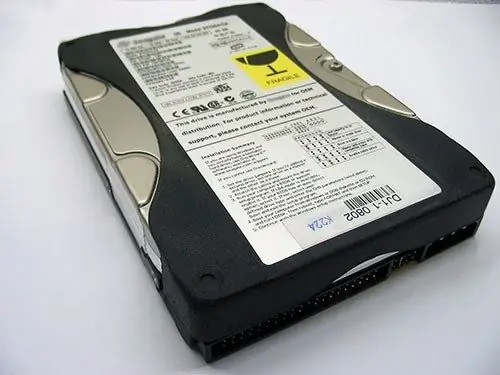
The cheapening and increase in the capacity of commercially available hard drives has led to the fact that today almost any user of a personal computer can afford to increase the amount of space for storing data when needed. Installing the hard drive in the system unit takes a few minutes. However, a new hard drive must be identified in the operating system before use.

Necessary
administrator rights
Instructions
Step 1
Open the Control Panel folder window. To do this, select the appropriate item in the "Settings" section of the menu that opens when you click the "Start" button in the taskbar
Step 2
Start Computer Management Console. In the control panel, double-click on the "Administration" shortcut. Then open the "Computer Management" shortcut
Step 3
Find the drive to be identified. Expand the Storage group in the left pane of the Computer Management window. Click on the "Disk Management" item. Wait for the snap-in to load and display its interface in the right pane. Browse the list of drives. Find the one that displays the "Not Initialized" status
Step 4
Initialize the hard disk. Right-click on its button in the bottom panel of the current snap. In the context menu, select the "Initialize disk" item. In the "Disks" list of the dialog that appears, if necessary, uncheck devices other than the selected one. Click OK
Step 5
Create at least one partition on the initialized disk. Right-click on the block labeled "Not Allocated". In the context menu, select the "Create section …" item. The Create Partition Wizard window appears
Step 6
On the first page of the wizard, just click Next. On the second, select the type of partition to be created, on the third, specify its size, and on the fourth, the mount options. If you want the partition to be immediately formatted, select the appropriate option, file system type and other options on the fifth page. Make sure the settings are correct and click Finish on the sixth page of the wizard
Step 7
Wait while the operating system detects the new hard drive. The process will be accompanied by the output of pop-up messages in the system tray
Step 8
Format the new section or sections if you did not do so when you created them. Click on the block corresponding to one of the new sections with the right mouse button. Select "Format …". In the dialog that appears, enter the required parameters. Click the Get Started button. Wait for the end of the formatting process
Step 9
Verify that the partitioning of the new hard drive is successful. Open the My Computer folder window. Review the Hard Drives section. Check if it contains the section shortcuts to which the letter was mapped during creation.


