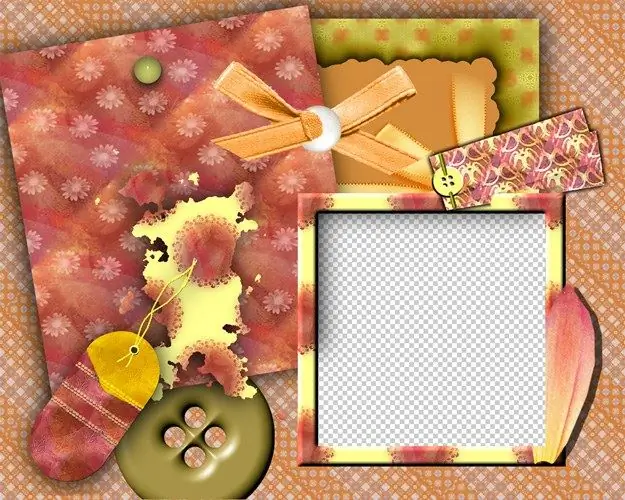
Using templates allows you to quickly turn your own photo into a colorful collage. With the help of Photoshop tools, such a template can be made from a suitable picture.

Necessary
- - Photoshop program;
- - image.
Instructions
Step 1
Upload a picture to Photoshop that you want to turn into a template. To increase the number of transformations that can be applied to an open image, unlock it with the Layer from Background option in the New group of the Layer menu or call the dialog box of this option by double-clicking on the image layer.
Step 2
If you want to make a template for inserting a face from your own photo, create a transparent area in place of the face in the original picture. To do this, you need a layer mask added to the document using the Reveal All option in the Layer Mask group of the Layer menu.
Step 3
Press the D key to return the foreground and background colors to their default settings. After turning on the Brush tool and zooming in on the edited picture, paint over the mask in the face area with the main color, which will be black with the selected settings.
Step 4
To get a smooth transition from the template to the photo that will be inserted into it, you will need to create feathering on the borders of the transparent area. This can be done by brushing the edges of the visible area with a brush with a reduced Hardness value.
Step 5
If you need a template with a rectangular or oval transparent area to insert a snapshot, select this area in the picture. Use the Rectangular Marquee Tool to create a rectangular selection, and the Elliptical Marquee for an elliptical selection. With Polygonal Lasso, you can outline a polygon, and Lasso will allow you to select an area of any shape.
Step 6
Templates look quite interesting in which the area for inserting a photo is partially covered by an object casting a shadow on the photo. To get this effect, select the object that will lie on top of the photo and copy it to a new layer using Ctrl + J.
Step 7
Using the Brightness / Contrast option in the Adjustments group of the Image menu, turn the copy of the object into a dark silhouette. Decrease the Brightness value for this, and increase the Contrast value. Slightly blur the shadow using the Gaussian Blur option of the Blur group of the Filter menu, drag the processed layer under the template and move it relative to the object that should cast the shadow. To move the picture, the Move Tool is suitable. To make the shadow more realistic, lower the Opacity value for the blurred layer.
Step 8
Collect the template into one layer using the Merge Visible option of the Layer menu and save the picture with the Save As option of the File menu in.png"


