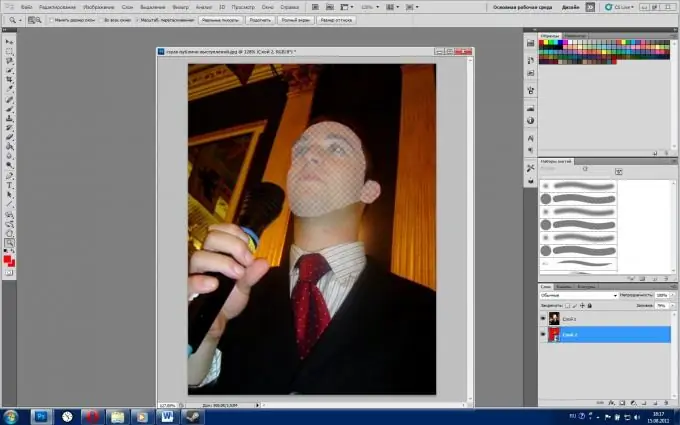
A template for editing is, as a rule, a document of a graphic editor (in this case, Adobe Photoshop), which allows you to effortlessly place a certain character in a completely unexpected environment. However, some efforts will still be needed.

Instructions
Step 1
Run the program (when writing the article, the Russian version of Adobe Photoshop CS5 is used) and open the image that will be the basis for the template. To do this, click "File"> "Open"> select the desired picture> "Open".
Step 2
Right-click on the name of the picture (it is at the top of the window) and select "Duplicate" from the drop-down menu. This copy will be useful in order to transfer here the image that you cut from the original in the fifth paragraph of the instructions.
Step 3
Continue working on the copy. On the layers panel (by default, the lower right corner of the program), double-click in the place where it says "Background" and in the window that appears, immediately click "OK". The "Background" will turn into "Layer 0" (unless you changed the name). To the left of the inscription there is an icon with an eye, click on it. Layer 0 should disappear.
Step 4
Switch to original. To zoom in on the face, which will become the working area of the template, press "Zoom" (hotkey Z) in the toolbar. Move the cursor to the center of the face, hold down the left button and drag the mouse to the right - to zoom in, or to the left - to zoom out. For the convenience of adjustments, you can use the scroll bars, which are located on the right and at the bottom of the image window.
Step 5
Right-click the Lasso tool and select Magnetic Lasso from the menu that appears. Point by point, start cutting out the face or the place that will be the active element of the future template. The line will independently magnetize to the edge of the contour. However, if the background color matches the color of the face, the line will go to the side. In this case, make the steps more frequent. With the path closed, right-click on it and select Invert Selection, then right-click again and select Cut to New Layer.
Step 6
Activate the "Move" tool and drag-n-drop the resulting layer with a hole for the face onto the duplicate that you created in the second step of the instruction. Align the image to fit the copy. To save the result, click File> Save As> for Files of type select PSD, specify a document name and path> Save.


