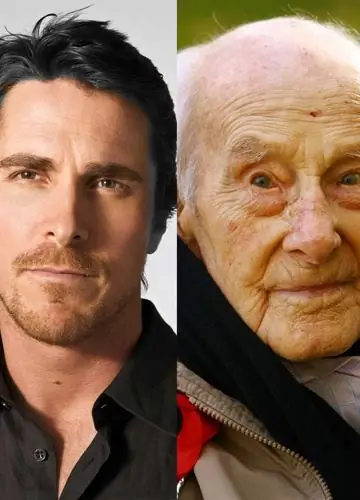
Face aging is a highly complex retouching performed by highly qualified specialists. But Adobe Photoshop allows you to make an old face in a simple way, accessible even to beginners.

Necessary
Tools: Adobe Photoshop CS2 or higher
Instructions
Step 1
You must prepare two photographs: the original one - the face in which you want to age, and the photograph in which the old person is captured.
Open the old man image in Adobe Photoshop (Ctrl + O) and copy it to the clipboard. It makes sense to copy not the entire image, but only the face. To do this, select the Lasso Tool (L) and outline the desired area with it. When you release the mouse button, a thin dashed line appears around the selection. In the "Edit" menu, select "Copy" (Ctrl + C).

Step 2
Open the image with the face you want to age.
Click on the "Edit" menu item "Paste" (Ctrl + V).
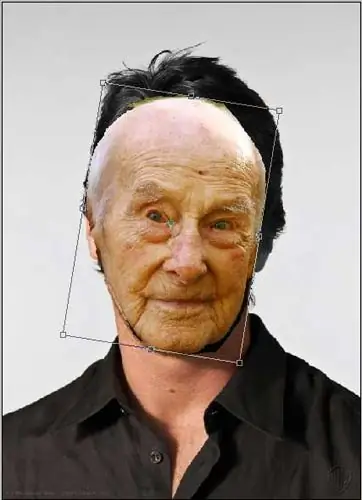
Since the images may vary in size, the top layer must be scaled. To do this, select the "Free Transform" item in the "Edit" menu. Markers will appear around the illustration, by pulling on which you will be able to enlarge, reduce and stretch the image.
Make sure that the tilt of the head in both portraits is the same. To do this, move the mouse cursor slightly away from one of the markers until its icon changes to a double arched arrow. Then use the left mouse button to change the tilt of the illustration. To accept the changes, press the Enter key.

Step 3
In the layers panel set the opacity of the top layer to about 50 percent (F7). The exact value depends on the brightness and lighting in the photo. Now the bottom layer will show through the top one.

Step 4
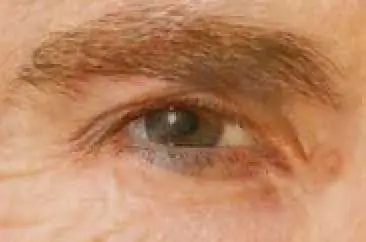
Switch to Free Transform mode again and, by stretching the top layer and changing its position, achieve the maximum coincidence of the portraits. Select the Eraser Tool (E) and remove any excess. Then set the pressure to about 30 percent, and use the eraser to work through the places where you can see the mismatch. Pay particular attention to the eyes, nose, and mouth.

Step 5
Finally, you need to adjust the color tone of the top layer as skin color and tone may differ. To do this, go to the "Images" menu and select "Color Balance" in the "Adjustments" submenu. Use the sliders to adjust the color tone so that it matches both photos.
Step 6
Save the work result (Shift + Ctrl + S).


