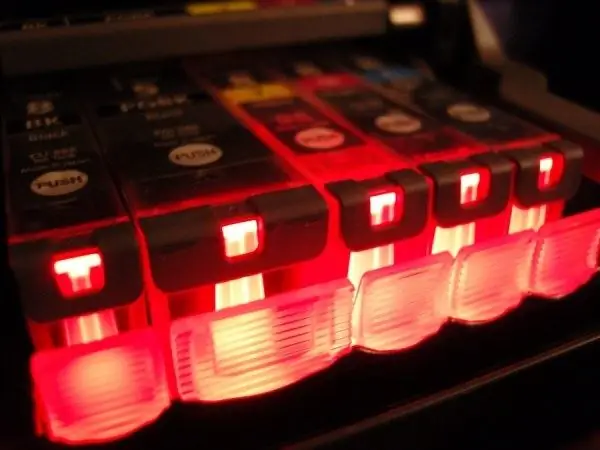
An inkjet printer is a computer peripheral used to produce high-quality color prints. In order for the system to work correctly, the printer must be monitored.

Necessary
- - jet printer;
- - screwdriver;
- - wet wipes.
Instructions
Step 1
To prevent your printer from breaking down due to improper care, follow a few guidelines. Remember that the print head is the most vulnerable part of an inkjet printer, so pay maximum attention to it. If you use your printer very rarely, the print head may deteriorate. Try to keep it dry, turn on the printer every two weeks and print at least a test page.
Step 2
There are printers, the design of which allows you to replace the print head at home. Sometimes it is replaced with the cartridge, as in Hewlett Packard printers. Do not try to remove the print head from the Epson Stylus printers, it is better to take the equipment to a service center.
Step 3
To remove the printhead from the HP printer, turn on the tech, open the top cover, while the carriage should move to the center. Then wait until the machine has come to a complete stop and press down on the cartridges with your fingers. To remove the cartridges from the slot, you need to pull up one by one. The cartridge slot is framed by a special steel retainer. Lift the handle of this latch up and remove the printhead from the carriage.
Step 4
Take a damp cloth, wipe the electrical contacts inside the device. Napkins do not have to be purchased separately if you are replacing a used device with a new printhead - they will be included in the kit. Keep in mind that you can only wipe the electrical contacts in one direction: either top to bottom or bottom to top.
Step 5
To flush the printhead, remove it from the printer following step # 3 and place it on a table lined with paper towels. Prepare syringe and flushing fluid. Purchase a special liquid, do not experiment with homemade products. Keep in mind, the liquid should be warm, leave it at room temperature, or warm up to 35 degrees. Gently squeeze the contents of the syringe into each compartment, onto the so-called nipple. Monitor the cleaning process, change wipes as they become dirty. The flushing liquid must pass freely through all ports of the nozzle.


