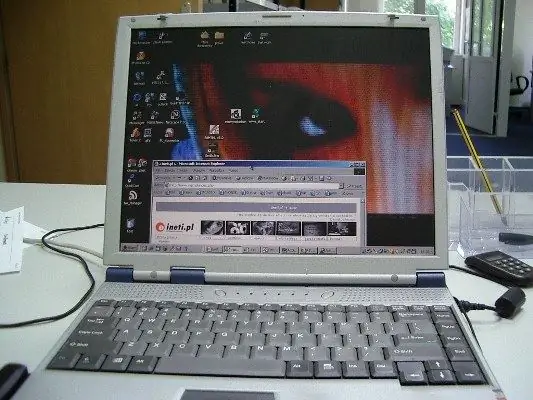
Not only the correct reproduction of image elements depends on setting the screen resolution settings, but also the ability to work at a computer without straining your eyes. Sometimes, usually after reinstalling the OS or updating the system files, the screen resolution is not set correctly.

Instructions
Step 1
The image may appear stretched for two reasons: firstly, due to incorrect settings of the screen parameters; secondly, in the absence of the necessary driver for the video card installed in the system.
Step 2
It is very easy to fix image stretch in the first case. For Windows XP, open "Start" - "Control Panel" - "Display" - "Display Settings" and set the required resolution. For a normal monitor, the normal screen resolution is 1024x768 pixels. For a monitor with an aspect ratio of 16: 9, typical for laptops, a resolution of 1366x768 pixels is required. Click "OK" - the screen resolution will be changed. Rate it - if it becomes normal, confirm the changes. If not, try selecting other display options.
Step 3
In the Windows 7 operating system, to change the screen resolution, click on a free area of the desktop with the right mouse button. In the context menu that opens, select the "Screen resolution" item. Further configuration does not differ from the configuration for Windows XP.
Step 4
In the event that there is no video card driver, the situation is somewhat more complicated. Determining if the driver is installed is very simple - open any window and try to drag it with the mouse. In the absence of a driver, the window will move slowly, in jerks, with noticeable distortions.
Step 5
To install the driver, open "Start" - "Control Panel" - "System" - "Hardware" - "Device Manager" - "Video Adapters". If the driver is not installed, your video card will be marked with a yellow question mark in the list. Double-click the line with the question mark with the mouse, in the window that appears, click the "Reinstall" button. If you have a driver disc, insert it into the drive and click Next. The installer will automatically find and install the required files. If the driver is located on the hard disk of the computer, specify the path to it.
Step 6
The main difficulties arise when installing video card drivers on laptops. To find out which driver you need, use the Aida64 (Everest) program. Run it and see the exact data of the video card. Using this data, go to the website of your laptop manufacturer and find the driver you need.
Step 7
In some cases, an installation disk with an assembly of Windows XP Zver can help solve problems with installing drivers on a laptop with Windows XP. This assembly contains a large number of drivers, but you cannot install them directly, since they are packed. Copy the archive you need from the OEMDRV folder - for example, DP_Video_ATI_Nvidia_911rc9.7z for ATI and Nvidia video cards, unpack it. Then run the driver installation procedure again and specify the path to the folder with the unpacked drivers.


