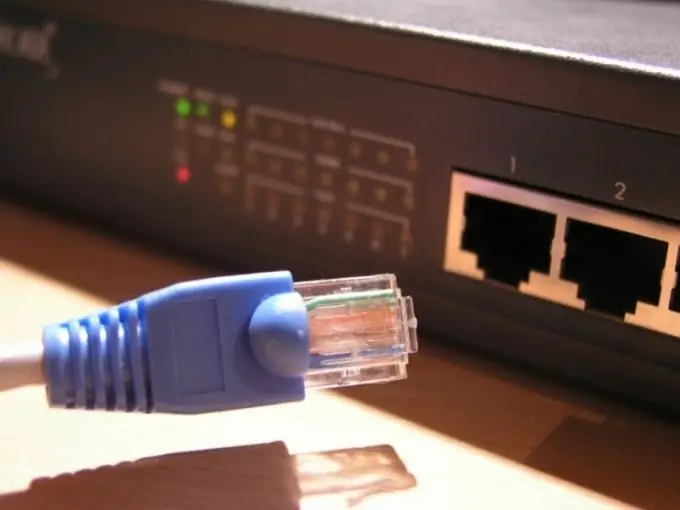
Nowadays, many users use a local area network for various purposes. It allows you to exchange files, play games. The network can be set up at home by connecting all home computers, or you can connect neighbors to it. You can set up a local connection yourself.

Necessary
a computer with Windows XP
Instructions
Step 1
Before proceeding, you need to make sure that the drivers are installed on the network card, otherwise it will be impossible to configure a local connection. To do this, open the device manager. There should be a line named "Network adapters". There is an arrow next to it. Click on this arrow.
Step 2
After that, you should see the name of your network card model. This means that the drivers are installed. If an unknown device is displayed instead of a network card, then you did not install them. You can find the drivers on the disk that you received when you bought the computer, or download from the Internet. They must be on the official website of your motherboard developer.
Step 3
Click Start. Go to the "Control Panel". Select Classic View to display the Control Panel items. Next, open the "Network Connections" parameter. You will see a Local Area Connection icon. Click on this icon with the right mouse button. Select Properties from the context menu.
Step 4
Another window will open. In this window, find the line "Internet Protocol TCP / IP". Check the box next to this line. After that, select this line with the left mouse click. Then, at the bottom of the window, click Properties. In the window that opens, go to the "General" tab.
Step 5
Find the "Obtain an IP address automatically" item there. Check it out. Then, in the same way, check the "Obtain DNS automatically" item. Click OK. This window will close. In the next window, also click OK. After that, all connected computers should be displayed on your local network.
Step 6
You can create user groups if necessary. For example, you can create a "Home User Group". Also, be sure to take care of protecting your computer. Install antivirus software and turn on the operating system firewall. It guarantees additional protection for your computer.


