A certain category of users installs protection on hard drives. It prevents both from accidentally deleting important data and from completely formatting the hard drive in some ways.

Necessary
Windows 7 disk
Instructions
Step 1
Bypassing such protection is not difficult. First, when working in a DOS environment, this feature is automatically disabled. Secondly, there are special programs that allow you to format any hard drives. Thirdly, before formatting, this function can be disabled even if you did not activate it.
Step 2
The function of protecting files, folders and entire partitions of hard drives is actively used by the Windows Seven operating system. Sometimes there are situations in which you cannot access your own files after reinstalling the OS. This most often happens when you use a different username.
Step 3
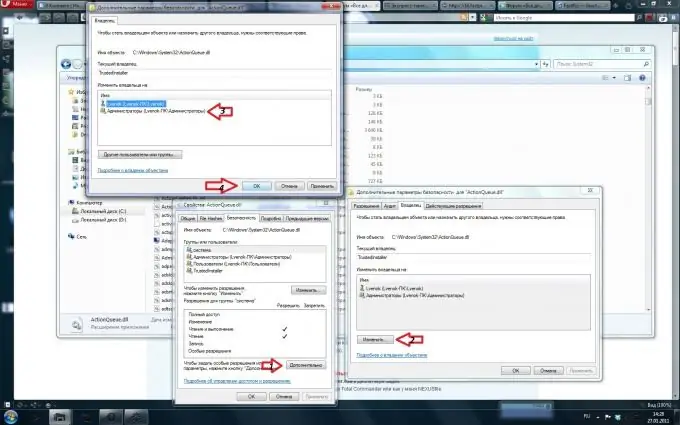
In such cases, it is necessary to change the owner of the directories or hard disk partition. Open the My Computer menu and navigate to the properties of the local drive you want to format. Go to the "Security" tab. At the bottom of the window that appears, find the "Advanced" button and click it.
Step 4
Go to the "Owner" tab and click the "Change" button. Select the account you are currently using, check the box next to "Replace owner of containers and objects". Click the Apply button. Wait for the operation to complete. Note: To successfully change the owner of the local disk, you must use an account with administrator rights.
Step 5
If you do not want to change the owner of the partition, then format the disk using the Windows 7 installation disc. Insert it into the drive and run the installation program.
Step 6
Open the Advanced Recovery Options menu. Navigate to Command Prompt. Type the Format D: command, where D is the letter of the partition you want to format. Restart your computer after the formatting process is complete.


