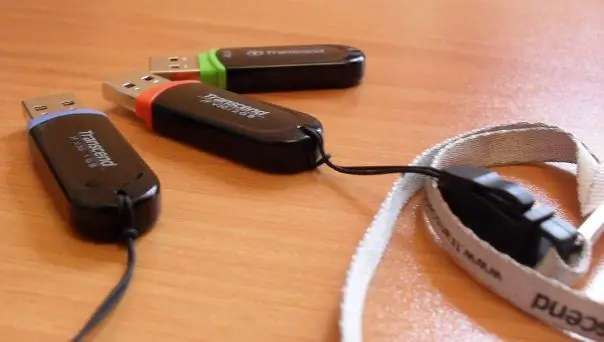
In order to format a removable disk (be it a simple flash drive or an external hard drive), connect it to your computer in data transfer mode. The formatting process will be discussed using the example of the Windows operating system and a simple USB flash drive, but even in other operating systems it is not very different.

Necessary
USB flash drive or external hard drive, computer
Instructions
Step 1
If you connected a removable disk to this computer for the first time, then you need to wait until the necessary drivers are installed. As a rule, this process lasts no more than a minute. Only then can you start formatting the disk.
Step 2
After the removable disk appears in the "My Computer" section, you should right-click on it. In the drop-down menu, select the "format" function. In a small window that appears, all the necessary formatting settings are made.
Step 3
Capacity: There is nothing to change here, as it just shows the capacity that will be displayed by the device after formatting. As a rule, its value is several megabytes lower than indicated by the device manufacturer.
Step 4
File system: in this case, the 2 most common file systems will be considered - FAT and NTFS. Most flash drives are formatted in FAT by default, but here it is worth noting one of its peculiarities: if your removable disk has a volume of more than 4GB, then you will face problems when writing files larger than 4GB to it. Therefore, you will not be able to burn a disc image or high quality movie that is larger than this limit. In this case, you should choose the NTFS file system.
Step 5
Cluster size: in most cases, this parameter should not be touched, but if you plan to write a very large number of very small files (text files, scripts) to a removable disk, it makes sense to set the minimum value of this parameter. Otherwise, the device will quickly run out of free memory.
Step 6
The volume label is the future name of the removable disk. Name the disc as you like.
Step 7
Quick formatting (clearing the table of contents): check this box only when the device is new and no files have been written before. You can also use this function if there is a lack of time, but remember that in this case the files that were in the memory before formatting can be restored with the presence of special software. If you want to completely clear the disk of data, you should not enable this option.
Step 8
Create MS-DOS Boot Disk: If you are not going to create a bootable disk or even do not know what it is, just leave the box unchecked.
Step 9
After all the settings are completed, you will only need to click the "Start" button, but we advise you to make sure once again that there is no important data on the device, since after formatting it will be extremely difficult or even impossible to recover.


