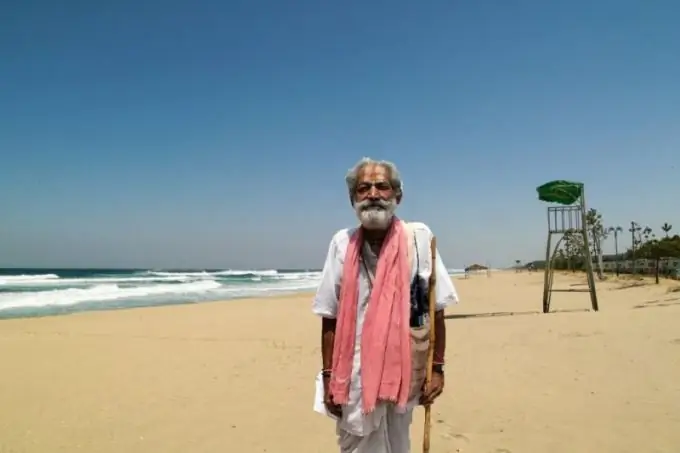
By means of editing, you can make a photograph in which a person is shown against the background of a place where he has never been. The starting materials for such a photograph are photographs of a person and a background. A graphic editor will help to combine them.

Instructions
Step 1
Start the raster graphics editor. It must be powerful enough - the capabilities of the simplest, such as Paint or Mtpaint, may not be enough. Convenient, for example, is the GIMP editor, which combines an extensive set of functions, is free and has a small distribution kit (about 20 megabytes).
Step 2
Open the picture with the background in the editor: "File" - "Open". Select the file and then press the "OK" key. Save this image immediately under a different name: "File" - "Save As". Select a folder to save the file. In the "Define file type" field, leave the default value - "By extension". Enter the new filename along with a period and a.
Step 3
In the same way as above, open the portrait file to place on top of the background. The person must be photographed full-length. Against the background of what it was originally filmed, it doesn't matter.
Step 4
From the GIMP toolbar, select the Select Shape In Image tool. On the button corresponding to it there is a stylized drawing of scissors, from which a sinusoid emanates. In other editors, this tool may have a different name, and the corresponding button may have a different look.
Step 5
Place dots along the contour of the person's image. The lines between them will be drawn automatically. Once the path is closed, click on its first point.
Step 6
Move the points with the mouse so that the winding line matches the contour of the portrait as closely as possible. Add intermediate points if necessary and move them as well.
Step 7
Make one click of the mouse in the middle of the selection. The dots disappear, but the outline remains.
Step 8
Copy the fragment to the clipboard: Ctrl + C.
Step 9
Go to the background file and place the person's image on it: Ctrl + V.
Step 10
Move the person's portrait to the desired location in the background.
Step 11
If it turns out that the image of a person is too large or too small for the selected background, start the scaling dialog: "Tools" - "Transform" - "Scaling". After resizing, click the "OK" button in the scaling window.
Step 12
Press the R key and then click in the background. If necessary, place portraits of several more people on the collage in the same way. Then save the result by pressing Ctrl + S.


