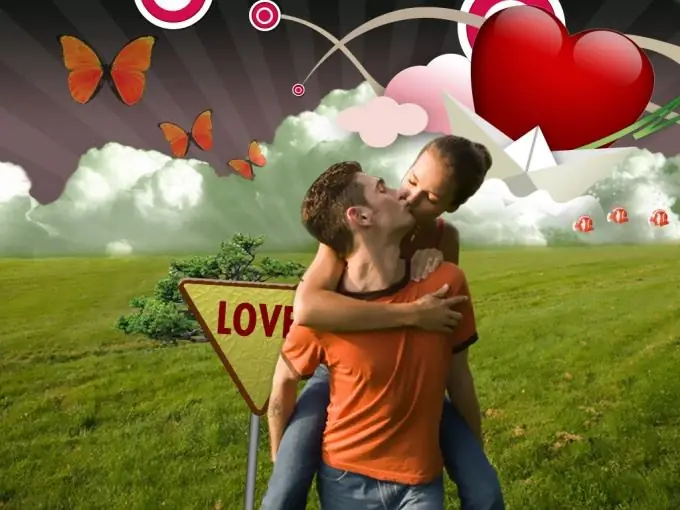
With the help of Photoshop, you can not only retouch photos, but also turn them into bright and unusual posters, radically transforming the original image in the photo. Having mastered the technique of creating a shining poster, later you can add originality and attractiveness to even the most ordinary photo, which does not differ in high quality shooting and composition. To create a poster, you will need the latest versions of Adobe Photoshop.

Instructions
Step 1
Open the photo in Photoshop that you will be making a poster from. Cut out the figure of a person from the background in any convenient way; remove the background. Then create a new document, fill it with a black background and, after copying the cut out human shape in the photo, paste it on the black background. Give the new layer a name.
Step 2
Zoom in to retouch the face in the photo using the Spot Healing Brush Tool and the Healing Brush Tool for retouching. Eliminate imperfections in the skin, and then smooth it out by duplicating the layer with the human shape and applying the Surface Blur filter to it.
Step 3
Add a mask to the duplicated layer and paint over all areas in the photo that do not need to be blurred, leaving only exposed skin - face, neck and arms. Reduce the opacity of the layer to 50%.
Step 4
Create another layer for lighting effects and place it at the very top of the layers palette. Select a soft white paintbrush from the toolbox and paint over a random area that includes the head of the person and the space around it. Then change the Blending Mode of the layer to Overlay and reduce the Opacity to 50%.
Step 5
Add two adjustment layers by activating the Use Previous Layer to Create Clipping Mask option.
From the Layer menu, choose the New Adjustment Layer tab, and then choose Curves. Correct the curves. Then do the same in the Brightness and Contrast parameter.
Step 6
Create a new brush to style the background. Create a new document of any size with a black background, select the Rectangle Tool from the toolbar, and draw a rectangle on a new layer. Right click on it and choose Stroke Path with the Pencil option. The stroke of the rectangle should be 1 pixel and it should be gray in color.
Step 7
From the Inage menu, select the Trim option and adjust it so that the part of the image around the rectangle disappears. Hide the Background layer, then open the Edit menu and use the Define Brush Preset option to save the brush.
Step 8
Go to the poster box. Create a new layer and place it below the original photo. Set the parameters for the brush to Shape Dynamics, Scattering, Smoothing. Use your brush at random to create rectangular shapes around the shape in the photo.
Step 9
Create another layer and position it above the rectangular brush layer. Using the Lasso Tool with a 20 px Feather parameter, draw a smooth selection around the shape and apply the Render> Clouds filter to it. Change the Blending Mode of the layer to Normal and duplicate the clouds layer several times.
Step 10
Go to each of the duplicated layers in turn and apply the Free Transform> Warp function to the clouds. Make the clouds follow the contour of the person's body in the photo. The last thing to do is to correct the poster - create a new adjustment layer and change its blending parameter to Color.
Step 11
Add glow, color spots and light rays using the Motion Blur filter with the Screen blending option. Erase those parts of the drawing that should not glow with an eraser.


