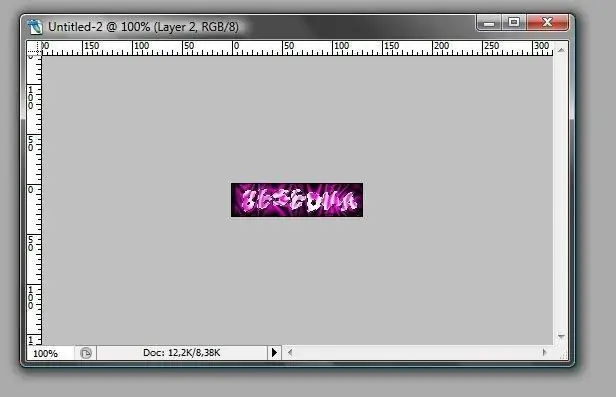
A graphic nickname is an image with text formatted in a graphic editor. To create such a nickname, you need to think over its appearance in advance, what colors and effects you want to use for it. Basically, all this is used for communication in chats and forums.

Necessary
- - computer;
- - skills in working with Adobe Photoshop.
Instructions
Step 1
Use Adobe Photoshop to create a graphic nickname. Run the application, create a new document. To do this, go to the "File" menu, select the "New" option, then in the window that opens, you need to set the height and width of your image, and also select a transparent background.
Step 2
To make a graphic nickname, set the file width to 130 pixels and the height to 35. Next, in the layers palette, click on the background layer to convert it to working. Select the "Text" tool palette, select an area of your image.
Step 3
Enter the text of your nickname. To do this, you can use additional fonts to make your nickname original. You can download Cyrillic and Latin fonts on the website ifont.ru or any similar website. Download the font you like and copy it to the Windows / Fonts folder. After that, you can select it in Photoshop to design a graphic nickname. Select the text and change the font using the menu on the toolbar. Choose the font size you want, as well as the style and slant.
Step 4
Decorate the entered text. To do this, select the "Window" menu, select the "Styles" option. The style palette will open on the right side of the program window. You can choose a standard style for the text layer, or you can download additional styles and use them to decorate the graphic nickname.
Step 5
To do this, select the style you like on one of the following sites and download it to your computer: www.photoshop-master.ru, www.allday.ru or www.gigart.ru. Further in the palette of styles, click on the arrow, select the "Add" option. In the window that opens, select the location of the style and select it. Select the text layer, then select the desired style and left-click on it.
Step 6
Double click on the text layer to open the layer properties window. In this window, you can choose settings for the layer's decoration, for example, shadow, inner glow, outline and so on. After applying all the necessary effects, save the result. Run the command "File", "Save As". Next, enter the file name, select the file format - gif. The creation of a graphic nickname is completed.


