Yandex. Disk is a cloud storage from a Russian Internet search engine. Allows you to synchronize files between computers, smartphones and tablets, store important files on the network storage, share them with friends and colleagues. There is also a client for this cloud storage for Linux, but unlike Windows, it is a console one, i.e. does not have a graphical interface. We will consider its installation and configuration in this article.

Necessary
- - browser
- - the Internet.
Instructions
Step 1
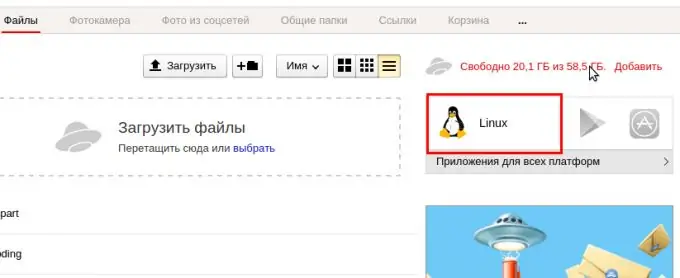
The first step is to download the Yandex. Disk client to your computer. It is assumed that you already have a registered Yandex account and the Yandex. Disk service is activated. Open the Yandex. Disk website in your browser and click on the Linux icon in the upper right corner of the page.
Step 2
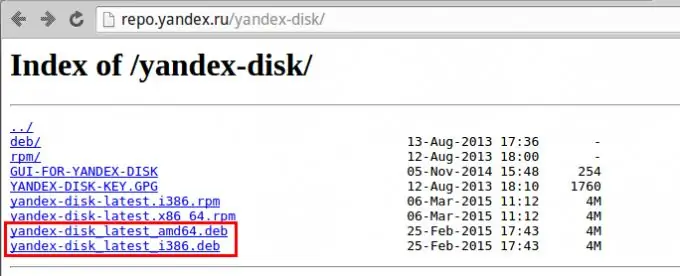
On the page that opens, click on the program package file. Since this instruction is for Ubuntu and its derivatives, you need to choose a package with the deb extension. As you can see such packages 2. If you have a 32-bit version of the operating system, then you need to select the file marked i386, if 64-bit then amd64.
Step 3
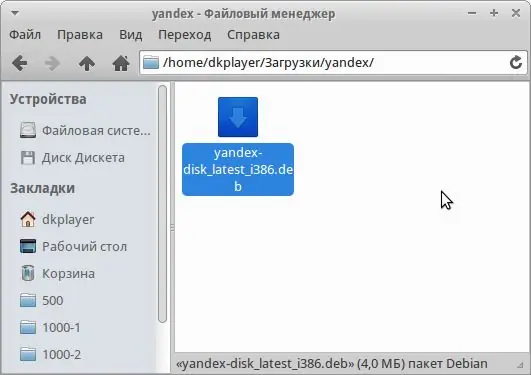
After the download is complete, open the folder with the downloaded package and start the installation with a double click.
Step 4
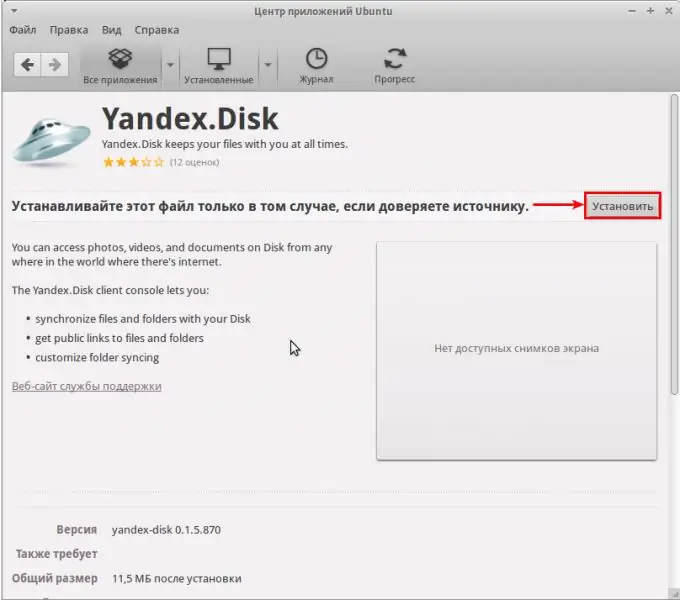
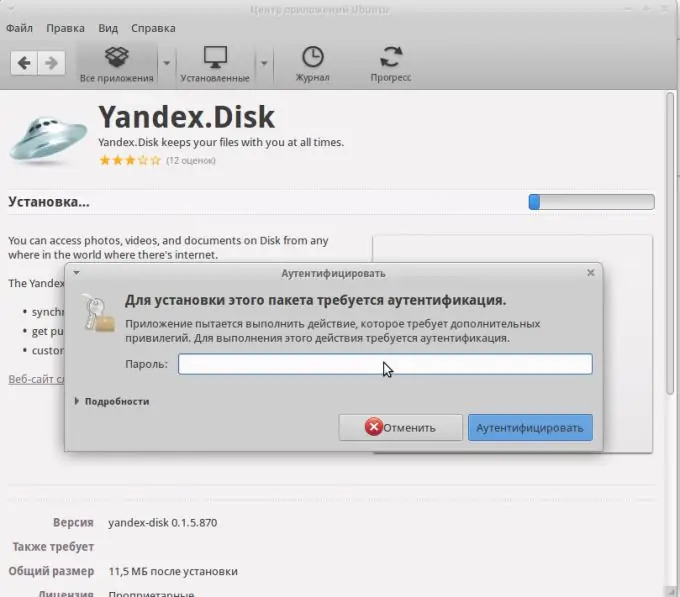
The Ubuntu Application Center launches. Wait for the information about the package to appear and click on the "Install" button.
Step 5
The Ubuntu App Center will ask for the user's password. Enter the password of the current user with which you logged into the operating system.
Step 6
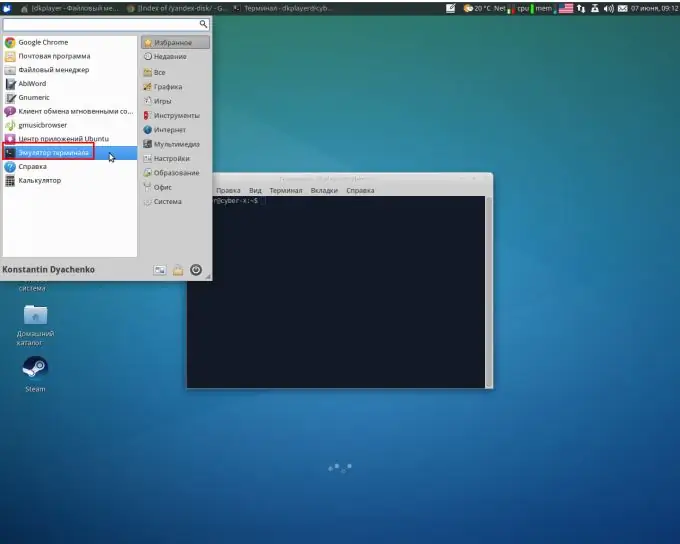
After the installation is complete, start the Terminal Emulator.
Step 7
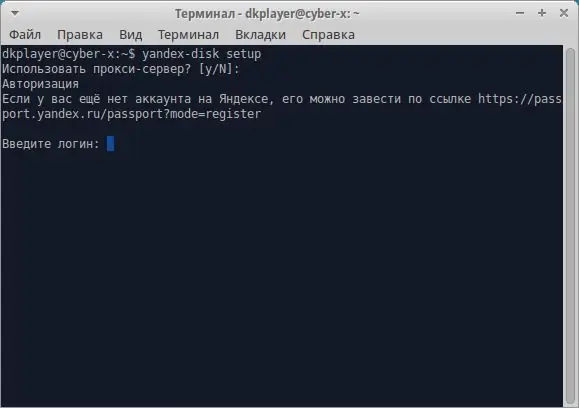
Enter the yandex-dist setup command in the terminal.
Step 8
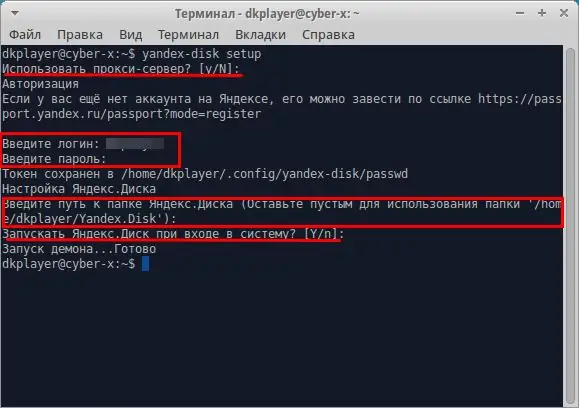
The yandex-disk setup command allows you to configure the Yandex. Disk synchronization service for your account. In the process, you will need to answer 4 simple questions after which it will launch and start downloading folders from the cloud storage to your computer. Pay attention to the third step, you set the path on the local disk where the synchronization will be performed.
Step 9
After configuration, you can monitor Yandex. Disk operation using the yandex-disk status command.


