In Adobe Illustrator, you can draw a 3D gear using simple shapes, transformations, and 3D effects.
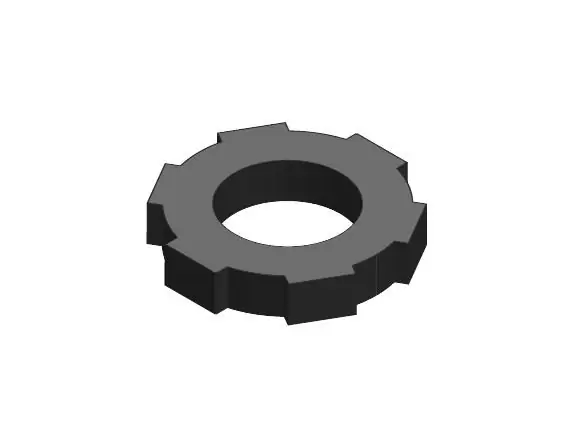
Necessary
Adobe Illustrator program
Instructions
Step 1
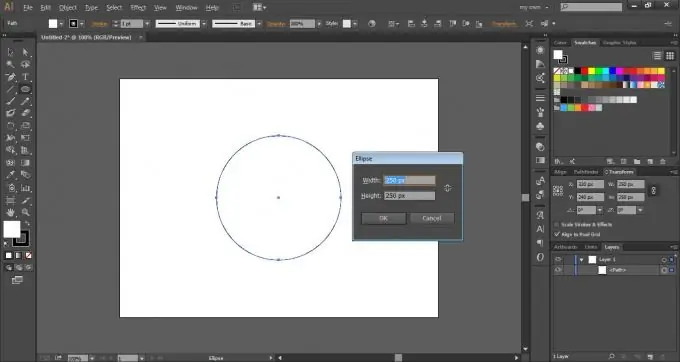
Select the Ellipse Tool [L] and draw a circle with a diameter of 250 pixels. To draw an even circle, hold down the [Shift] key while drawing, or simply click once on the work area and enter the value 250 in the dialog box that appears in both fields.
Step 2
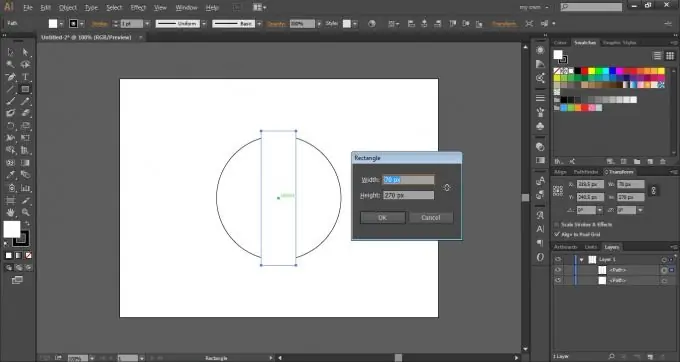
Select the Rectangle Tool [M]. Move the cursor to the center of the circle until "center" appears, hold down [Alt] and click. In the window that appears, enter the values 70x270 pixels.
Step 3
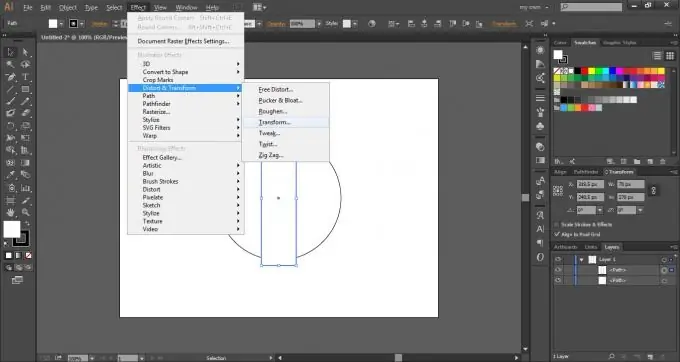
Without removing the selection from the rectangle, go to Effect> Distort & Transform> Transform.
Step 4
Enter 60 ° in the Angle field and 2. Click OK in the Copies field.
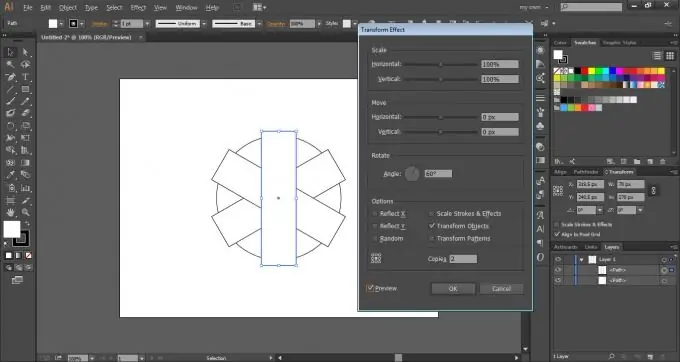
Step 5
Go to Object> Expand Appearance.
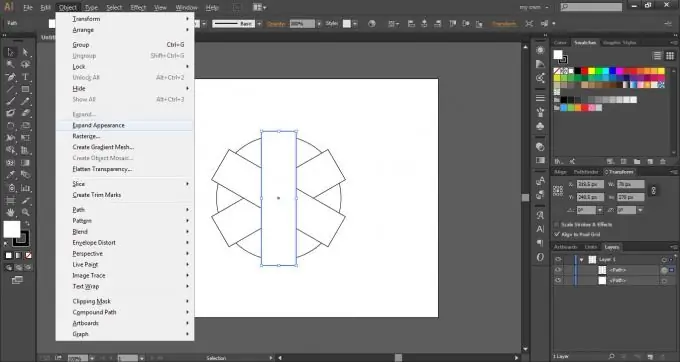
Step 6
Select all the paths with the keyboard shortcut [Ctrl + A], go to the Pathfinder panel (Window> Pathfinder) and press Unite.
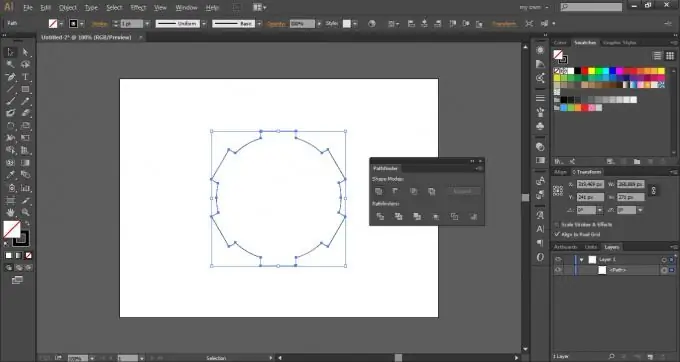
Step 7
Select the Ellipse Tool [L] and draw another 150 px circle in the center.
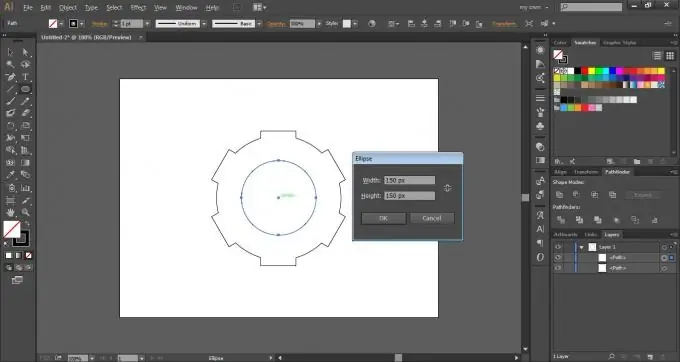
Step 8
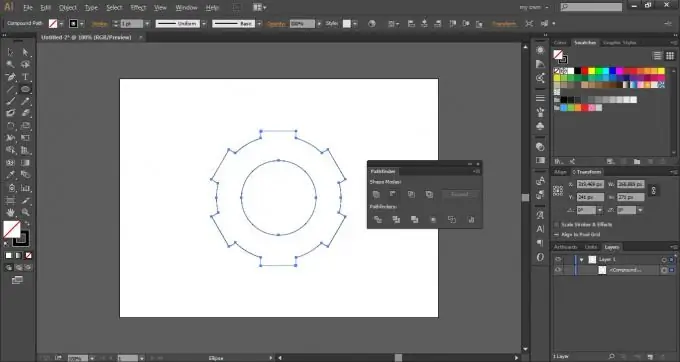
Select all the paths with the keyboard shortcut [Ctrl + A], go to the Pathfinder panel (Window> Pathfinder) and press Minus Front.
Step 9
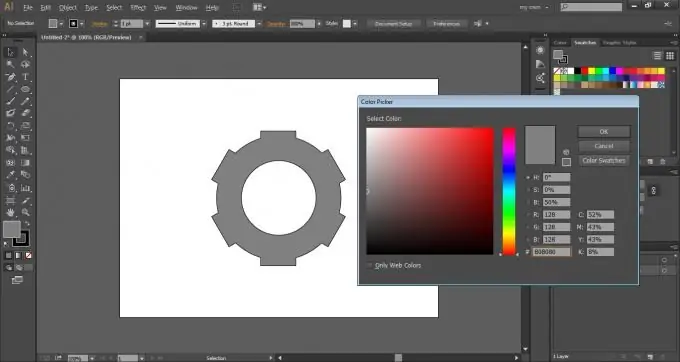
Select the resulting path and paint over with # 808080.
Step 10
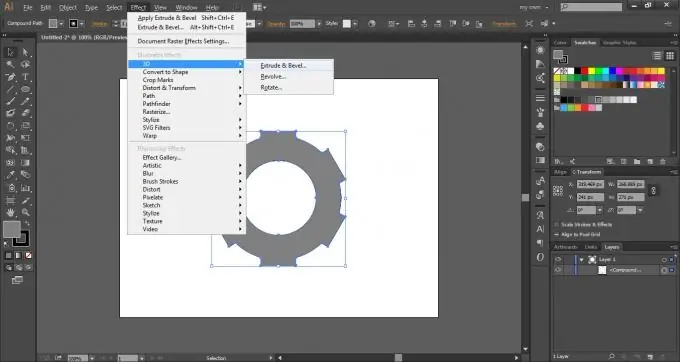
Without removing the selection, go to Effect> 3D> Extrude & Bevel.
Step 11
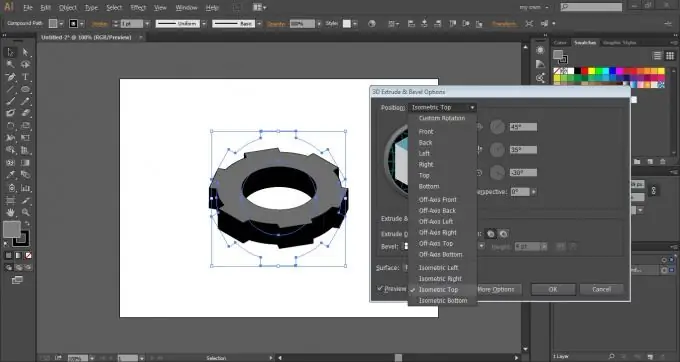
In the Position drop-down list, select Isometric Top. Click OK.
Step 12
Make the stroke color # 333333.


