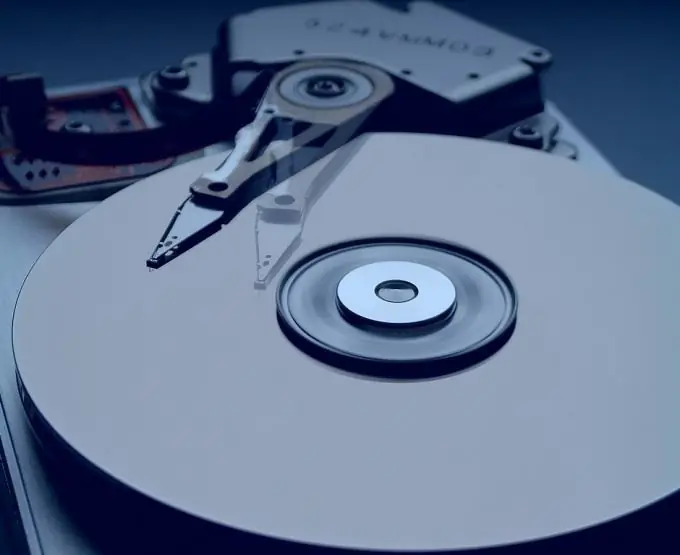
Windows system assigns drive letters automatically depending on the location of the screws on the cables and their order. Typically, drive letters never change during normal operation. However, this does not mean that they are permanently fixed. Windows has built-in tools to change drive letters.

Instructions
Step 1
Regardless of your version of Windows, the sequence of steps to change drive letters will be the same. Through the "Start" menu or in another way, go to the "Control Panel".
Step 2
Among the various parameters available for configuring the system, select the "Administration" icon and double-click it to enter it. You will see different system management options that are responsible for certain settings. One of them will be "Computer Management". Open it up.
Step 3
A new window will appear in front of you, vertically divided into three columns. The last column lists the available actions that you do not need to change the drive letter. The main columns - the first and second - contain the information you need. In the first column, find the "Storage" menu and expand it by clicking on the "+" sign to the left of it. In the list that opens, select "Disk Management".
Step 4
In the middle column of the main window at the top, you will see all installed hard drives and partitions into which they are divided. Below is a graphical display of the structure of the installed physical disks. In this case, there can be several logical partitions on one physical disk, which will be graphically shown as one disk, divided into several parts, located next to each other on the same medium.
Step 5
To change letters, select the desired disk at the top and right-click on it. In the drop-down menu, specify "Change drive letter or drive path …". The "Change drive letter …" window will open, in which you will be asked to choose from three options: add, change or remove a letter. Select "Change".
Step 6
In the next window, select the desired letter from the drop-down list. Please note that you will not be able to select drive letters that are already in use in the system, nor will you be able to change the letter of the main system drive. Once selected, click OK. By changing the drive letter in this way, you will need to manually change the links to programs and files located on it, since other programs and their shortcuts will not be able to find these files, referring to them at the previous location.


