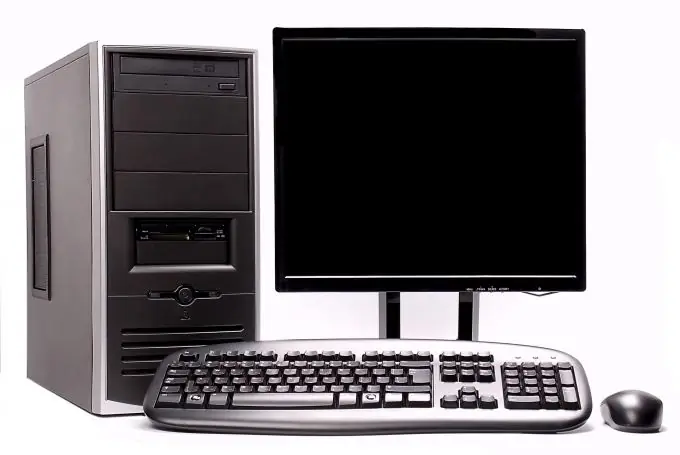
You need to be very careful when setting up your local network. Modern operating systems and additional programs can make it very difficult to access a particular computer.

Necessary
administrator account
Instructions
Step 1
Configuring the parameters of access to a computer within the network completely depends on what purpose you are pursuing by entering certain parameters. If you need to make the printer available to the public, this is relatively easy to do than setting up shared access to the folders you need. First, disable the firewall. It can be any standalone program or built-in antivirus feature.
Step 2
Now go to configure Windows Firewall. It is better to disable this protection system altogether. If you do not want to risk it, then set a special permission for a specific network. Open the Control Panel menu (Windows 7 and Vista) and go to the Windows Firewall menu. Now click on the "Turn on or off firewall" item. Find Home or Work Network Settings. Check the box next to Turn off Windows Firewall.
Step 3
Now go back to the control panel and go to the "Network and Sharing Center" menu. Open Change Advanced Sharing Settings. Now, in the "Network Discovery" item, check the box next to the "Enable" option.
Step 4
On the next menu, select the "Turn on file and printer sharing" option. Pay particular attention to the Access Shared Folders menu. For a work network, it's best to set it to Turn On Sharing.
Step 5
Now look at the Password Protected Sharing menu. If you activate this function, then they will be able to connect to your computer only after entering the account name and password for it. This account must be created on your computer. By disabling this option, you will allow all PCs in the workgroup to connect to your system.
Step 6
After you finish changing the settings for accessing the computer, restart it. Try connecting to your PC from another device. Make sure shared files and folders are available.


