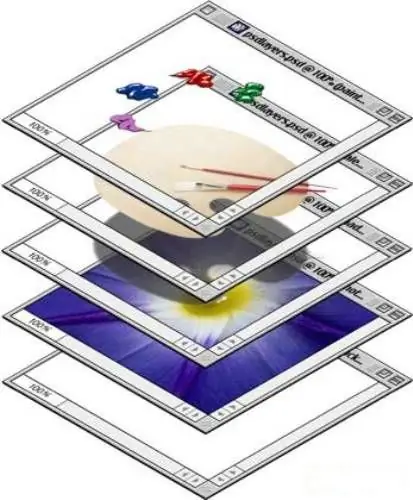
While working in Photoshop, a very large number of layers can accumulate. Some of them are already fully worked out and only create mass, interfering with work. You need to get rid of extra layers. But how, after all, you cannot delete them? But you can combine them or mix them.

Necessary
Photoshop, a picture, broken into layers
Instructions
Step 1
In the illustration, you can see that the picture is divided into many layers that are not combined with each other. All of them are named in accordance with the elements that are depicted on them. Each of the layers can be adjusted and moved independently of the others. Those. the right hand, for example, you can move to another place, redraw it, delete, add an effect, recolor. And all this will not in any way affect other parts of the body of our "girl".
Step 2
But if you have already finished all the parts of the head to perfection, there is no point in keeping them on separate layers. Let's merge the layers we need. Arrange all the pieces in their places. Hold down the Ctrl key and select all the layers you need to merge (in our case, these are the mouth, eyes, hair and head). Now click on any of them with the right mouse button. A menu will appear, in which at the very bottom you must select the "Merge layers" item. Now the head and everything related to it have united and become one element. Rename this layer and name it "head". This is the first way to combine layers.
Step 3
Now you can go the other way. This time, you need to combine a sundress, arms and legs, i.e. create a torso. Turn off the "head" and "background" layers by removing the eye from the window next to the layer. Click on one of the visible layers with the right mouse button and select the menu item "Merge visible". Those layers that have not been disabled will merge into one. Name this layer “torso”.
Step 4
The last method remains, it is called "Mixing". It is used as the very last step in working with an image. Rollup brings all layers in a document together and freezes them. Turn on the "head" and "background" layers. Right-click on any layer and choose Flatten from the menu that appears. Now all parts of the image are connected. This is necessary to reduce the weight of the psd file.


