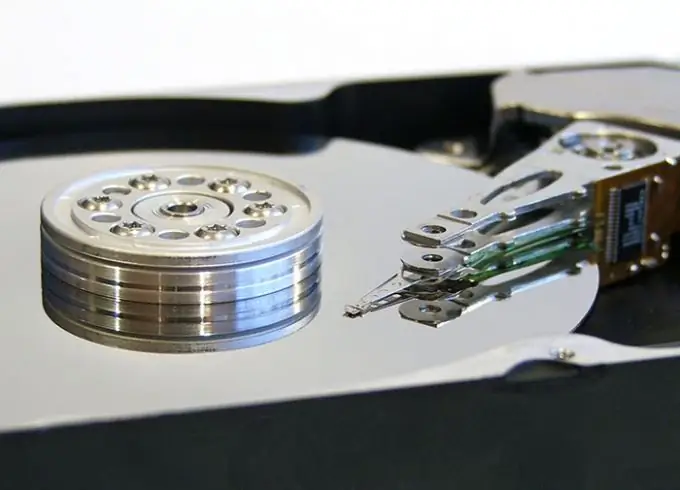
The purpose of formatting digital storage media, as a rule, is to create a file system on them. Sometimes formatting is used as an alternative to erasing the entire contents of the disk. Any operating system has media formatting tools with the ability to create supported file systems. Typically, the OS package includes console and graphical utilities for formatting. So, in order to format a computer disk in Windows, you need to make a few mouse clicks.

Necessary
Administrator rights in Windows
Instructions
Step 1
Transfer important files from the disk you intend to format. During the formatting process, all information on the media will be destroyed. Therefore, if it contains files of value, it makes sense to copy them to another drive. Use a file manager or Windows Explorer. Create a temporary directory on disk that will not be formatted. Make sure the destination media has enough space for the files to be transferred. Copy the files and folders you want to a temporary directory.
Step 2
Open the Computer Management snap-in. Right click on the "My Computer" icon located on the desktop. In the context menu, click on the "Control" item. You can also open the Start menu, select Settings and Control Panel, click on the Administrative Tools icon, and then click on the Computer Management icon.
Step 3
Open the disk manager. In the left pane of the Computer Management window, expand Computer Management (Local) and Storage Devices. Highlight the "Disk Management" item.
Step 4
Open the disk format dialog. In the right pane of the Computer Management window, which is the disk manager interface, find the item corresponding to the logical drive you want to format. Select it by clicking on it with the left mouse button. Display the context menu by right-clicking on the item. In the context menu, select the "Format …" item.
Step 5
Adjust the formatting options. In the "Format" dialog, specify the new volume label, the type of file system to be created and the size of the cluster. If necessary, enable the options for fast formatting, file compression.
Step 6
Format the disk. Click the "OK" button in the formatting options dialog. A window will be displayed asking you to confirm the operation. Click the "OK" button. Wait for the end of the formatting process. The progress will be displayed in the Disk Management window.
Step 7
Transfer the files previously saved in the temporary folder to a formatted disk. Use a file manager or Windows Explorer.


