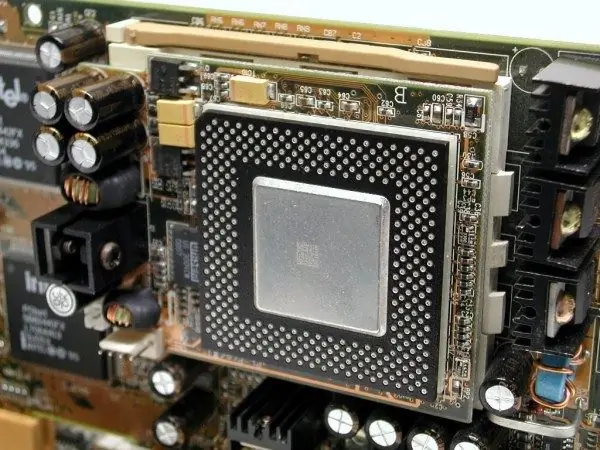
The central processor is the main element of a personal computer, on which the performance of the PC directly depends. Modern CPUs differ in the type of socket (socket), the number of cores, and many other characteristics. In stationary computers, the processor can be replaced without the use of special equipment.

Necessary
- - crosshead screwdriver;
- - thermal paste;
- - a lint-free cloth.
Instructions
Step 1
To get started, choose the right CPU for your computer. To do this, find out the model of the motherboard installed in your PC. This can be done in several ways. Open the case of the system unit and look at the brand name and model of the motherboard. You can also use various freeware programs such as Speccy to automatically detect your motherboard model.
Step 2
Check the motherboard manufacturer's website for information on supported processor models. In this case, you need to find out the CPU socket. Find and purchase a more modern CPU based on the information you have learned. Be careful. Some motherboards with LGA 775 socket support a limited list of CPUs.
Step 3
Remove the old processor. To do this, open the PC case and remove the fan and heatsink installed on the motherboard. In most cases, it is enough to open 2-4 latches for this. In this case, it is not necessary to remove the motherboard from the case. Note that the fan is usually connected to the motherboard.
Step 4
Use a dry, lint-free cloth to wipe off any remaining thermal paste from the processor and heatsink. The radiator can be wiped with rubbing alcohol to remove grease stains. Open the latch on the motherboard and remove the old processor. Install a new CPU in its place. Be very careful when doing this. Avoid touching the pins located on the CPU or board. Find out the direction of the processor installation beforehand. This is usually indicated by a special arrow in the corner of the CPU. Occasionally you will find cutouts on the CPU case and tabs in the socket on the motherboard.
Step 5
Apply a small amount of thermal paste to the installed CPU. Install the radiator, press it firmly, but do not fix the clips. Remove the heatsink and remove excess thermal paste, if present. Reinstall the radiator and fix it.
Step 6
After a few minutes, turn on the computer and check if the processor is working properly. Remember to connect the cooling fan to the motherboard first. Run any utility that displays the CPU temperature, such as Everest. Make sure the temperature does not exceed the permissible range. Otherwise, repeat the procedure for replacing the thermal paste. Check if the fan is working if the above steps did not help lower the CPU temperature.


