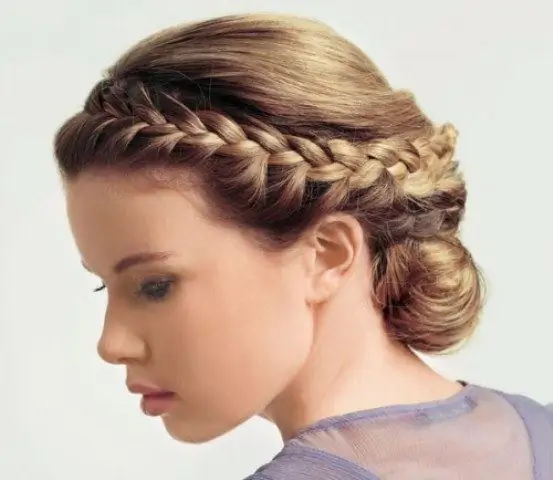
The most common use of Photoshop is to manipulate photographs in order to enhance the image and make the person in the photo more attractive. In this case, sometimes it becomes necessary to slightly change the appearance. To do this, you can imperceptibly "erase" some element of the image, for example, remove the bangs.

Instructions
Step 1
Align the "background" where the part of the bangs to be removed is. This work is necessary, because without it, the "disappeared" bangs will surely leave sloppy marks that will have to be removed again. If you are going to remove bangs from a face photographed from the front, make sure that the overall tone of the face is the same, and the skin is even, without spots or other imperfections.
Step 2
Determine exactly how you want to remove the bangs. Perhaps you just want to change its shape, shorten it, or, conversely, lengthen the hair. Or just “cut off” a piece to make an oblique out of straight bangs? After you decide what exactly you are going to do, estimate the "borders" of the part of the image that you want to remove.
Step 3
Zoom in to see all the details of the bangs you want to remove. Working to remove an element of a photograph from afar is likely to leave suspicious edge lines or a translucent piece of hair somewhere on the side.
Step 4
Use the Clone Stamp tool to start removing the bangs. In the process, carefully "spread" the base over the bangs, as if stretching the image of the skin over the hair. This is a rather boring process as you have to constantly determine the source point for your stamp. To do this, select the area of the skin that will best hide the hair and not seem to be a roughly inserted spot, and click on it with the left mouse button while holding down the Alt key. Your stamp will now be like a paintbrush to paint "new" skin over the bangs.
Step 5
Refresh the source point of your stamp as often as possible, trying to "stretch" the skin over the bangs as realistically as possible. Do not forget that the hair has an edge line, so do not overdo it - the forehead may turn out to be too large or, on the contrary, too small.
Step 6
As soon as the bangs are erased, start correcting minor errors that will certainly arise in the process. Carefully paint over the dark spots, use the Blur Tool to smooth out the skin on the now open forehead. Slightly darken the edge of the hair and smudge it with the Blur tool so that the fake painting is not visible.


