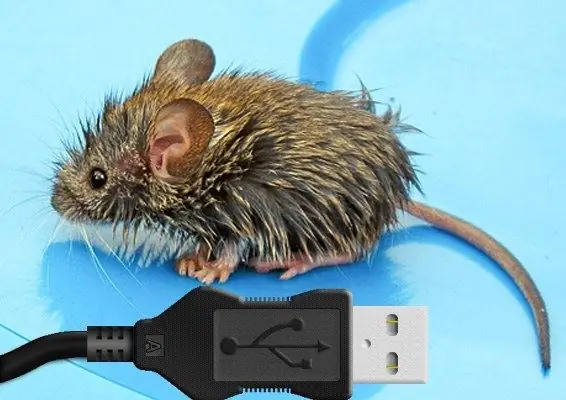
The USB (Universal Serial Bus) port was not originally intended for connecting a mouse or keyboard, since the computer has separate inputs for this (most often - ps / 2). However, in order to reduce the size and become more versatile, the USB port is increasingly being used as the only option for connecting low and medium speed external devices, including mice.

Instructions
Step 1
Insert the plug of the device's connecting cable into the corresponding socket on the computer case - as a rule, this is sufficient for connecting a USB mouse. If it is a desktop computer, it is best to use the rear panel to leave a free slot on the front panel for frequently connected and disconnected USB devices. After you insert the plug into the connector, the operating system will automatically recognize the new device and select a driver for it from its database. If the OS cannot do this, or if your mouse has some special properties that require the installation of additional software, then use the disk supplied with the mouse to install it. If there is no such disk, download the necessary files from the manufacturer's website.
Step 2
Enable in the BIOS of your computer the option to recognize the USB mouse at the stage of computer startup, if after its installation the device does not work correctly. To do this, initiate a restart of the computer and enter the BIOS settings - most often this requires pressing the delete or f2 key when the corresponding prompt appears in the lower left corner of the screen. Depending on the version of the basic I / O system installed, the desired setting may be located in different sections of the setup panel, but most often you must look for it on the advanced or integrated tabs. The installation itself can also be named differently - for example, USB Mouse Support. This is usually set to auto by default - replace it with enable. Then exit the settings panel while saving the changed parameters. After the next boot of the computer, the mouse should be recognized by the system.
Step 3
Start by connecting the adapter to a USB port and installing its software if it's a wireless mouse. In this case, immediately after connection, the operating system will also try to independently determine the new device and select the appropriate driver. If something goes wrong, you will have to do it yourself, as described in the first step. After installing the adapter, turn on the mouse after making sure the battery is installed.


