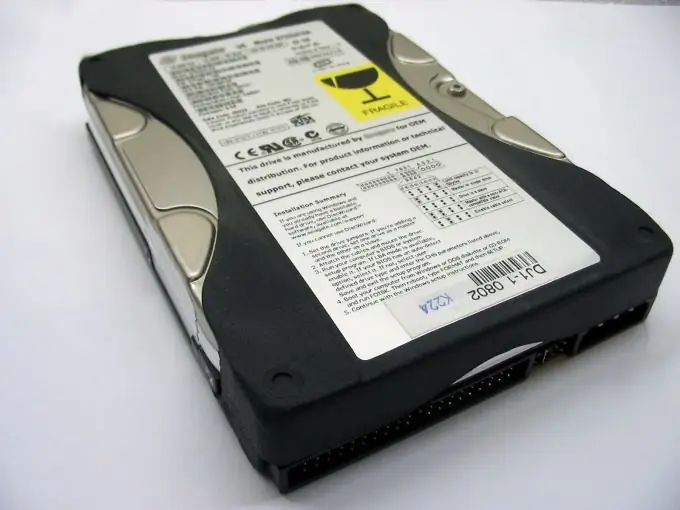
Hard or hard drive - the main storage of information in the computer. The operating system is loaded from it, and it also stores numerous music, video and photo archives of users. The safety of the recorded information depends on the correct installation of the hard disk. Therefore, before starting work, you must correctly connect the hard.

Instructions
Step 1
Before purchasing a hard drive, determine which interface it should have. Older computers' motherboards are usually designed for ATA drives. In newer computers, hard drives are connected via the SATA interface. In addition, today it is impossible to find new ATA-hards in shops selling computer components. Therefore, if you need to connect a hard drive with an ATA interface, look for offers in the advertisements for the sale of used components.
Step 2
If you do not know how to distinguish an ATA drive from a SATA drive, power off the computer and remove the side cover of the system unit. Place it on the floor or other flat surface, for example, and locate the installed hard drive inside. Take a look at the wire that runs from it to the motherboard. An ATA cable is a 40 or 80 channel thick ribbon cable, while a SATA cable looks like a small wire, most often red in color.
Step 3
If you do not have a single hard drive installed, find the corresponding connectors on the motherboard for connecting the hard drives. They can also identify the hard disk interface.
Step 4
Connecting hard is not difficult. Insert it into the slots specially designed in the system unit for mounting hard drives. Secure with the fixing screws and connect the ATA or SATA cable to it. Remember to plug this cable into the appropriate connector on your motherboard. Also connect the wires supplying power to the hard drive.
Step 5
Turn on your computer and enter BIOS. The hard drive will most likely be detected already. If not, then perform autodetection, then exit the BIOS, save the changes, and reboot the system.


