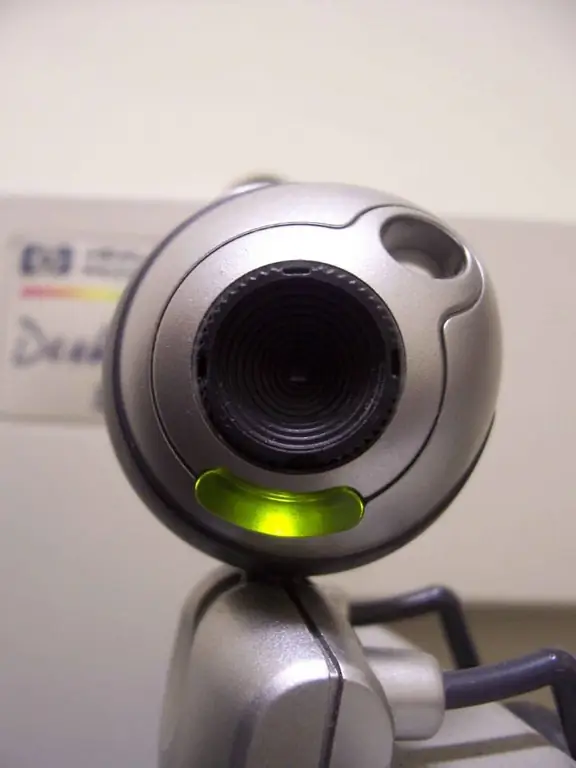
You can shoot video using a webcam by just sitting in front of your computer and talking. Before doing this, you need to familiarize yourself with the video editing software and the functionality of the webcam you are using.

Instructions
Step 1
Turn on the webcam. To do this, simply plug it into a USB port. If your computer has a built-in webcam, like a MacBook, then you don't need to turn on the camera.
Step 2
Open your video editing software and choose New Project from the File menu. Enter a name for the project.
Step 3
Select a video capture tool (Capture). In most programs, Capture is found on the File menu. A preview screen will open, in which the picture from the webcam should appear. If nothing appears, manually select your webcam from the File menu. Set up your camera to see what's in the frame. If you're shooting a person, make sure the top of the head doesn't fall out of the frame.
Step 4
Install lighting. This is one of the most important moments of the shoot. The standard lighting method, three-point lighting, includes a beam of light falling on an object's face at an angle of about 30 degrees, light from the opposite side (called fill light), and light falling on the background.
Step 5
Press the Capture or Record button and start shooting video. The program will start writing to the hard disk of the computer. Press the Stop button when finished shooting. The video must be in the video library.
Step 6
Pull the captured video from the video library onto the timeline and edit it. Cut out the parts that didn't work out and add effects and music if necessary.
Step 7
Select the Export option from the File menu. Select the video file format (for example, MOV, AVI, or MPG). Specify the folder where the file will be saved. Click OK and export the project to a video file.


