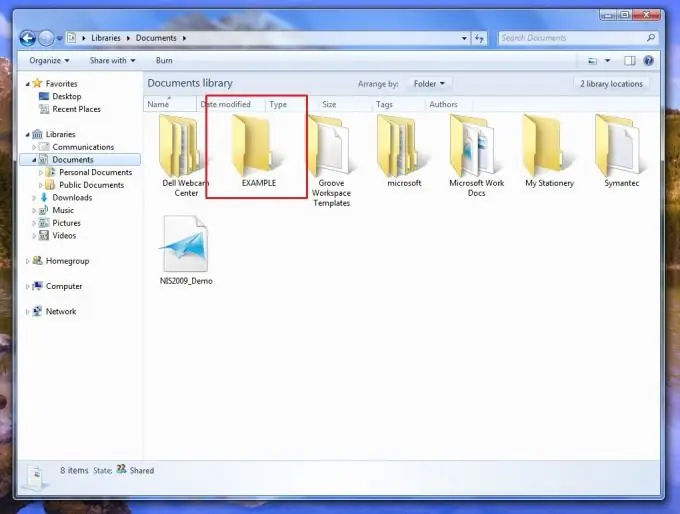
We are talking about Windows operating systems, as the most common among users today. Those who work in the Linux environment, for the most part, do not need explanations, and Macintosh users are generally unaware of these difficulties. So, you want to open a folder, but it does not open, does not allow writing a file to it, or cannot be deleted and at the same time displays a message - "no access".

Instructions
Step 1
Check the access level of your user, who you are considered to be on this computer - user or administrator. It depends on what opportunities you have. To check your access, click Start - Control Panel - User Accounts. This is if your system is Windows 7. If you are using the previous, but popular version of Windows XP, then click Start - Settings - Control Panel - User Accounts (Account Management). You will see the username or several such names. Find yours, for example your account "Andrey", and in the control panel you see that below the name is written "Administrator". This means that you have broad rights to control your computer. If the signature says that you are "User" or "Guest" - your options are very limited.
Step 2
Having found out that you have administrator rights, you can proceed to the main thing - changing the access rights to folders. In Windows 7, right-click on the folder icon, select Properties. Then click on the "Security" tab to open it. Those with Windows XP will have a little more difficulty. Open My Computer, click the Tools button at the top of the window, then select the View tab. In a rather long list of settings, find the line "Use simple file sharing" and uncheck the box. Confirm your decision by clicking "OK". Then repeat the same steps as described at the beginning of this step for Windows 7.
Step 3
You are on the "Security" tab. In the upper half of the window there is a list of users who have one or another access to this folder. To change access rights, select the user category with the mouse pointer (usually these are: authenticated, system, administrators, users). Then click the Change button in the middle of the window if you are using Windows 7. A window titled "Group Permissions% FolderName%" will open. Owners of Windows XP do not even need to press anything, go straight to the next item.
Step 4
Select a user group at the top, and check the boxes for the desired access rights to the folders: read, write, delete, view content and others. Please note that there are two columns, "Allow" and "Deny", opposite each of the rights. Be careful in your choice, if you want to allow it, put a check mark in the corresponding column, and uncheck the box that does not fit the meaning of the column. Close the window by clicking "OK". Done, you have changed the permissions.


