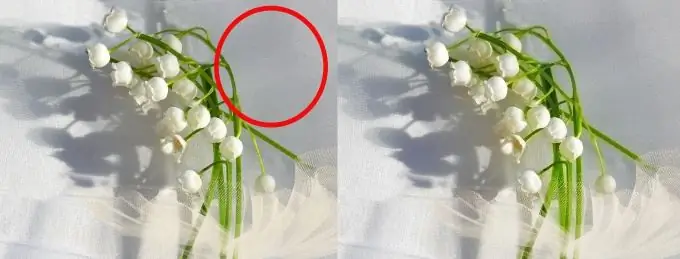
If during shooting you included too small details in the frame (it can be transparent fabrics with a pronounced structure of threads, shiny jewelry or thin hair), then the so-called "moire" may appear in the photo, which consists of lines and multi-colored dots and clearly spoils the picture … The following simple technique will help in the fight against moire.

It is necessary
Adobe photoshop
Instructions
Step 1
Launch Adobe Photoshop and open a moire image. Create a copy of the original snapshot by choosing a command from the menu Layer → Dublicate layer, or press Ctrl + J.
Step 2
Click with the mouse on the inscription "Background copy" with the mouse and make it active. Now apply a Gaussian Blur filter to this layer. To do this, in the main menu in the upper horizontal panel, select the inscription "Filter" and click on it with the mouse. In the drop-down list, select the inscription "Blur" and click the mouse again. Select the inscription "Gaussian blur". The whole sequence of actions will look like Filter → Blur → Gaussian blur. It is important to choose the correct Gaussian blur value. Increase the blur value until the moiré marks disappear. Typically, the desired value is between 3 and 20. In this particular case, the value is 16, 7.
Step 3
The last step remains. Change the blending mode "Normal" to "Color" by clicking on "Normal" and choosing the "Color" mode from the drop-down list.
Step 4
The image returned to you clearly prettier - sharp and without moire. The secret of such image processing and moiré removal is that in this mode only the color characteristics of the changed layer are superimposed on the original image, and the brightness and contrast levels are preserved. If it seems to you that removing moiré in this way led to a decrease in color saturation, call the Image → Agjustment → Hue / Saturation dialog and move the Saturation slider a little to the right. Save the image by choosing Layer in the upper layer panel, and in the drop-down menu Merge Visible.
Step 5
Alternatively, instead of using Hue / Saturation, you can duplicate the saved image (ctrl + j) and work with Levels, which may give an even better effect.


