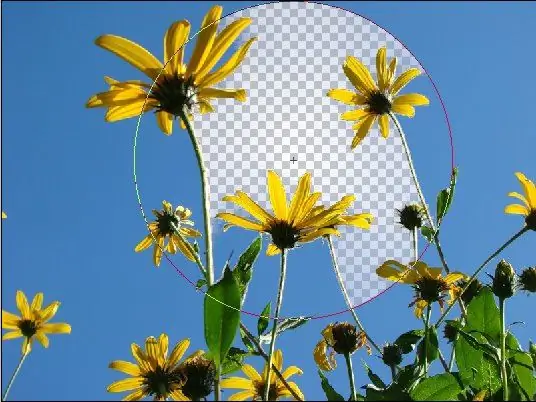
The ability to accurately and realistically cut out any image from the original background opens up many possibilities in photomontage, creating collages and other graphic effects. In this article, we will look at several simple ways to cut out an object from an image in order to later work with it on other backgrounds.

It is necessary
Adobe Photoshop program
Instructions
Step 1
Open a drawing suitable for the job.
Step 2
The easiest, but not always accurate, method is to use the Magic Wand tool. This tool is only suitable if the image is clear and contrasting enough. If there are many halftones in it, the magic wand will not highlight the correct outline.
To use this tool - click it anywhere in the background, and in case of sufficient contrast, it will stand out. After that, you can remove the selected background.
Step 3
The second method is more reliable, but also more time consuming. Select the Pen Tool and, marking the steps by clicking the left mouse button, draw a circle around the object. After finishing the stroke, edit the path with intermediate steps and nodes, select the resulting area by clicking, invert and, as above, delete the background with the Delete key.
Step 4
Another easy-to-use method is Channels. Go to the channels panel to the right of the layers (Layers) and select the channel on which your drawing has the most contrast in relation to the background. Make the remaining channels temporarily invisible. Then select the magic wand tool again and click on the object. The contrasting image will stand out on its own.
Step 5
The last reliable and quick method of cutting out an object from the background is to use a quick mask, which is invoked by the Q key. Take a brush, enlarge the image and start painting over the entire background around the object, carefully outlining all the outlines. In quick mask mode, the brush will be red - after you exit mask mode, all painted areas will be selected and can be deleted.


