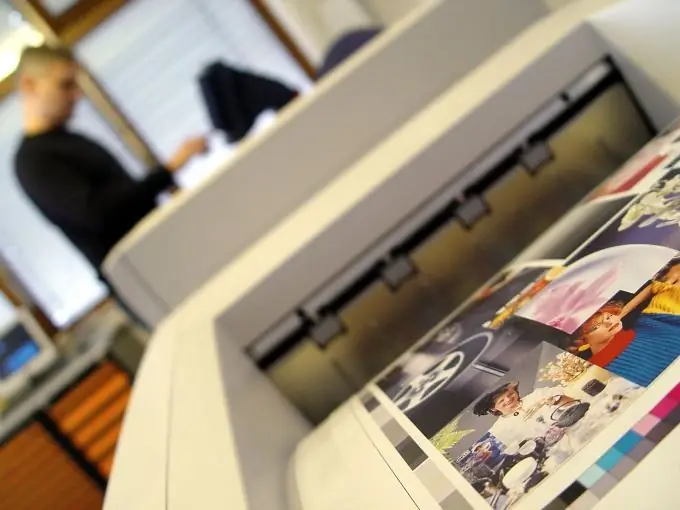
Printing photos at home is now possible for anyone with a printer capable of printing on photo paper. Today's printers deliver superior color reproduction and print quality that rivals darkroom printers. But the end result largely depends on the consumables.

It is necessary
- Inkjet printer capable of printing on photo paper
- Photo paper
- Photo for printing
Instructions
Step 1
Turn on the printer, making sure it is connected to the computer. Start your photo printing software. Open the image in it, if necessary, set the fields and other attributes of the image. If the program supports the ability to set the type of photo paper, be sure to do so.
Step 2
When the image is ready to print, take out the photo paper. Place it in the receiving tray by first sliding the guide to the left of the edge. Then remove the sheets from the packaging. Insert the paper into the tray with the side to be printed on facing down. Slide the photo paper into the slot until it stops, then slide the paper guide against the edge of the paper. If you still have stocks of photo paper in the tray from the last time, be sure to check if the corners are curled.
Step 3
Make sure the photo paper is not curled, is installed correctly, and the image is ready to print. Click the OK button. If you have taken more photo paper than you need, and after printing the photos, there is still it left, do not keep it in the tray, but put it back in the package, otherwise the edges may curl.


