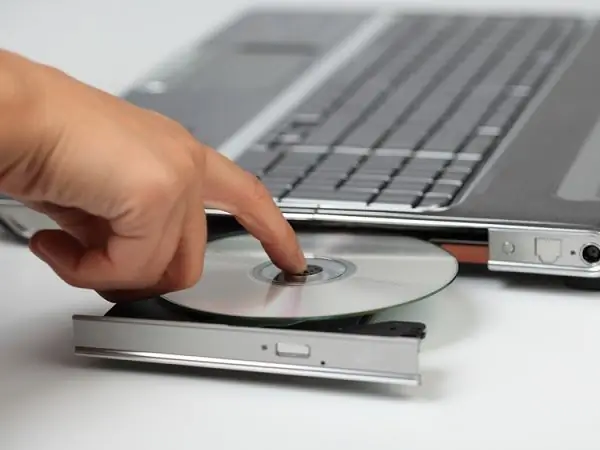
Modern burning programs and corresponding models of dvd drives allow you not only to replenish your home video library or photo library, but also to do it almost professionally by printing a photo directly on the surface of the disc. It is also a great gift option.

Necessary
- - recorder with LightScribe function;
- - LightScribe blank.
Instructions
Step 1
In order to print a photo on disc, you need to become more familiar with LightScribe technology. It allows you to apply images to the outer disk surface using a laser, while the picture will not peel off or smudge in the future due to the lack of ink. However, this is precisely why you should be extremely careful when photo-burning, so as not to spoil the disc.
Step 2
The most popular computer program for burning discs is Nero, starting with version 7. This is due to the high studio quality of the design, which even a non-professional can achieve.
Step 3
Open the Nero Express program. Select the desired device in the "Recorder" section if you have more than one. Insert the disc, print side up, and the Print LightScribe Label icon will appear in the start screen. In this case, the label refers to the laser marking applied to the disc.
Step 4
Click the icon and select the appropriate option. In the "Labels to discs" window that opens, you can create an image of your choice: use the built-in cliparts or upload your photo.
Step 5
Click Next. Set the desired options in the LightScribe Print Properties window and select the desired print quality. Keep in mind that the higher it is, the slower the application speed will be. Start Print. The progress of the operation will be displayed on the screen. "OK".
Step 6
Despite the high level of results that the Nero program gives, sometimes there is a problem with the vision of the drive. In this case, it is better to use the simpler but equally efficient Droppix product and a separate LightScribe driver.
Step 7
Run the driver and set the settings to the highest quality. Open the Droppix program. Browse to select a file with a photo, to which you can add different elements: inscriptions of various sizes and directions. To do this, there is a special menu on the left side of the window.
Step 8
Remember that the disc has a hole in the center of the surface, so you need to choose such a picture so that it does not look meaningless with a gap in the middle. It can be moved in any direction to achieve the best fit.
Step 9
Evaluate the result through the "Preview". Here, select the brightness level, select the drive and give the burn command.


