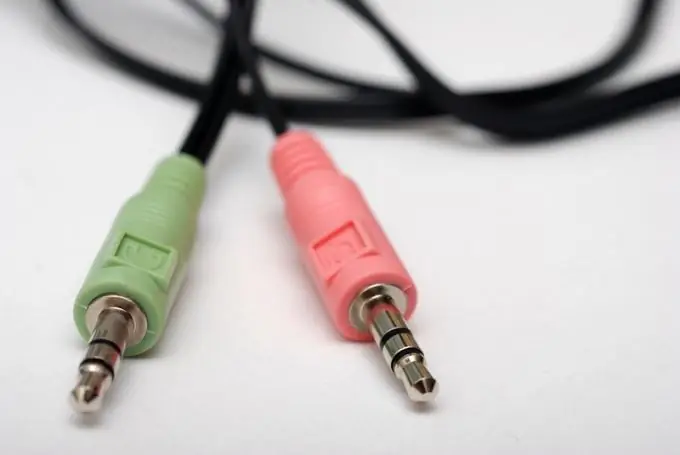
Sometimes it is very convenient to use the microphone and headphone jacks on the front of the computer. It's good if you were shown how to do this when you buy a computer from a store. But coping with connecting a microphone at home is also not so difficult. The main thing is to follow a few simple rules.

It is necessary
- - microphone;
- - headphones or speakers for sound output.
Instructions
Step 1
To get started, turn on your computer, wait for it to boot, and prepare a working microphone. If it works from the connectors on the back of the system unit, then you can safely try to connect it on the front panel. Usually there is a pink connector (with a microphone icon). For testing, the program that comes with the sound card drivers (for example, Realtek HD manager) or Sound Recorder, which can be easily found by following the path "Start" -> "All Programs" -> "Standard" -> " Entertainment".
Step 2
If the microphone does not turn on (this can be signaled by stationary recording scales), then first of all check the software activation of the microphone. Find the speaker icon in the system tray and double-click on it. In the window of the main sound settings that appears, select "Properties" -> "Mixer" -> input device (input). For example, this can be Realtek HD Audio Input. Select the “Mic Volume” setting. When you close the window, you will see the volume control for recording from the microphone. The microphone icon must be active and set to at least half the scale. An alternative way to make these settings: "Control Panel" -> "Sounds and Audio Devices" -> "Audio" -> "Sound Recording" -> "Volume".
Step 3
If recording still fails, check the front panel auto-sensing mode. This is the manager window of the program responsible for your audio devices. Check the top checkbox as shown in the photo and check the microphone recording again. Often, it is because of active auto-detection that an audio device conflict arises.
Step 4
If you are not yet successful, then you should restart your computer and enter BIOS. There, open the "Advanced Settings" menu. The "Chipset Configuration" section may contain the "Front Panel Control" parameter. Force it to be “Enabled” (instead of “Auto”). After rebooting, try again to activate the microphone from the front panel.
Step 5
Another danger may await you if the front panel audio cable was not connected to the motherboard when assembling the computer. You can check this if you open the side cover of the system unit and inspect the connection point. If you have instructions for the motherboard, where the connectors for connection are indicated, and you have determined exactly where you need to insert the audio cable, you can do it yourself. Caution - If your computer is new and the case is sealed, you should contact the resellers for help in order not to lose your warranty.


