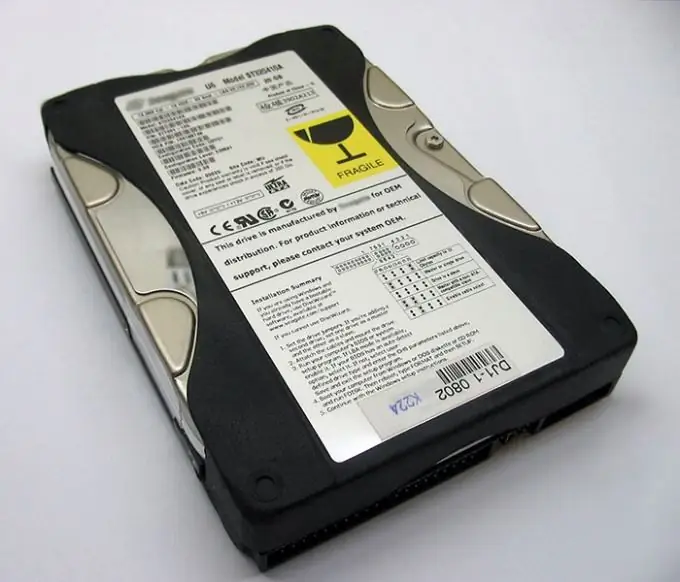
Due to the ease of use and increased speed of data exchange, hard drives operating through the SATA interface have become widespread, completely replacing outdated hard drives with IDE (PATA) support from the market. But the fleet of IDE hard drives is still very large, since many users have hundreds of gigabytes of information stored on them. However, sooner or later they will have to plug in a SATA hard drive instead of a burnt out or completely outdated IDE drive.

It is necessary
- - SATA hard drive;
- - SATA cable of sufficient length;
- - crosshead screwdriver;
- - possibly additional screws for securing the hard drive;
- - a free slot in the hard drive cage;
- - free SATA power cable in the system unit;
- - free SATA connector in the system unit.
Instructions
Step 1
Power off the computer. If it works, turn it off. Unplug the power cord connector from the socket on the back of the system unit.
Step 2
Remove the right (as viewed from the back) side cover of the system unit. Use a Phillips screwdriver to remove the screws securing it. Pull the plastic clips to the right until they disengage from the metal edge. Remove the cover by sliding it along the body towards the back and then pulling it up.
Step 3
Dismantle the basket selected for the installation of the hard drive. There should be a free slot in the basket to accommodate an additional device. Before dismantling, note or sketch the current position of the cables connected to the existing hard drives. Remove all cables from all hard drives in the basket. Remove the screws that firmly fasten the basket to the case. Press down on the plastic retainer. While holding it, pull the hard drive cage towards you. Remove it from the case.
Step 4
Install the SATA hard drive into the basket. If the cage has built-in hard drive holders, slide them out. Place the hard drive in an empty slot. Push in the latches. Additionally, fix the device with screws by screwing them into the free holes (often the clips are present only on one side of the basket case).
Step 5
Install the basket with the added hard drive into the system unit. Slide it until the lock clicks into the same grooves from which it was removed. Install the fixing screws.
Step 6
Reconnect previously disconnected devices. Restore the connection diagram in accordance with the previous position of the loops, memorized or sketched in the third step.
Step 7
Connect the SATA hard drive. Insert one of the SATA data cable connectors into an available SATA connector on the motherboard. Insert the other connector of the ribbon cable into the corresponding slot on the hard disk. Find an unused SATA device power connector. Insert it into the power socket on the hard drive.
Step 8
Prepare your computer for use. Install the side cover. Snap the plastic clips into place. Install the screws. Connect the power cord to the system unit.


