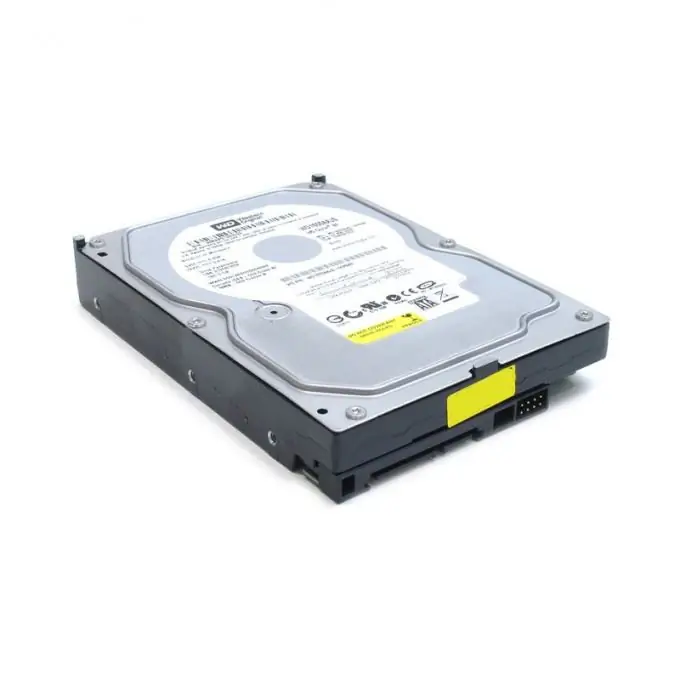
No matter how capacious modern hard drives are, sooner or later they turn out to be full, and then it becomes necessary to connect a second screw - more correctly, a hard drive.

Instructions
Step 1
Disconnect the system unit from the power supply and remove the side panel from the case by unscrewing the fastening screws. If your hard drive is connected to the motherboard via an IDE interface, you will be using a wide gray 80-pin ribbon cable with two or three connectors. Through one connector, the ribbon cable is connected to the motherboard, hard drives or optical drives are connected to the other two.
Step 2
On the hard disk, on the side where the interface cable and power connectors are connected, there is a special field with several contacts, two of which are connected by a jumper (jumper). By closing different contacts, you give an indication to the BIOS (Basic In-Out System) of the computer what role is assigned to this hard drive. If you are going to install an operating system on it and make it bootable, set the jumpers to the Master position. If this is the second hard disk, and its destiny is to become a repository of information, designate the Slave position with jumpers. A variant of Cable Select connection is possible, in which the operating mode is determined by the cable: the device connected to the outer cable connector is assigned to the Master, and to the middle one - to the Slave. For such a connection, a special loop with a cable sample is required. The contact bridging combinations are shown on a sticker on the top of the hard drive.
Step 3
Carefully inspect the connectors of the interface cable and the hard drive - they have "keys" in order to avoid incorrect connection: there is a notch on the hard drive connector, and a ledge on the cable connector. Sometimes cables are marked additionally: a red stripe is applied along one of the sides. The ribbon cable should be connected so that the strip is closer to the power connector of the hard drive. The loop is connected to the motherboard in the same way, taking into account the "keys".
Step 4
Connect the power supply to the hard drive. The tops of the power connectors of the cable and the hard drive are rounded, so that it will not be possible to connect incorrectly. Replace the side cover, connect the computer to the power supply. Press the Power button, after the initial inquiry of the hardware, enter the BIOS and make sure that the system "sees" the new hard drive.
Step 5
After loading the operating system, if necessary, partition the new hard drive into logical drives and format them.


