Tattoos are very popular. It is possible to make both permanent and temporary tattoos, which will look original and stylish. However, before drastically changing your image, you can take your photo and the image of the future tattoo and then see if such a picture will look on your body.

It is necessary
- - photoshop;
- - original image (your photo);
- - depiction of a tattoo on a white or transparent background.
Instructions
Step 1
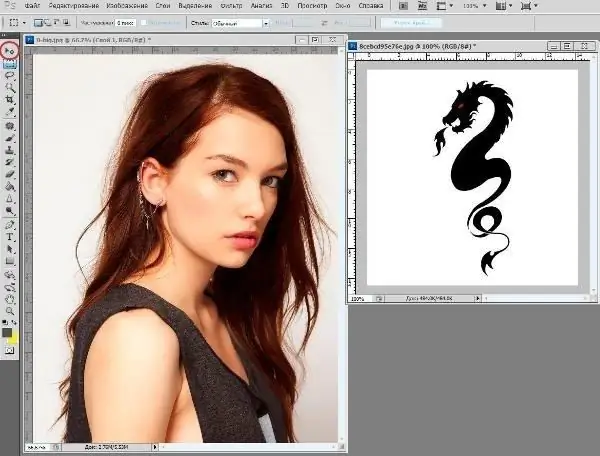
First, open the original image in Photoshop, as well as the photo of the drawing that you want to use as a tattoo. Such drawings can be easily found on the Internet. The image must be on a white or transparent background.

Step 2
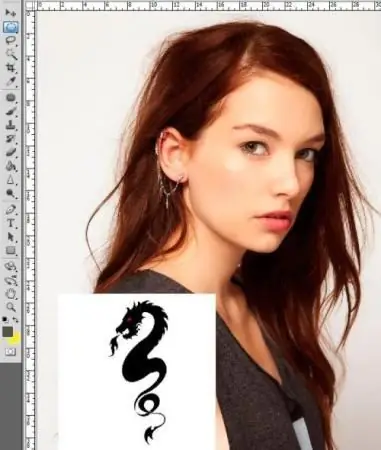
Now find the Move tool. It's in the toolbar, top left. You can also activate it by simply pressing the V key. Drag the tattoo image onto the photo. Place the picture on the place of the body where you plan to apply the tattoo.

Step 3
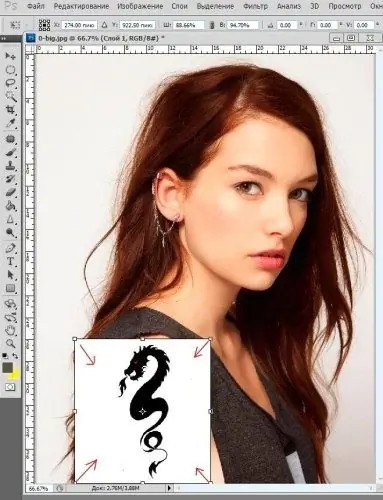
To resize the tattoo image, use the transform function. To do this, in the main menu, select the item "Editing" (Edit), and then "Free Transform" (Free Transform). Alternatively, you can simply use the key combination Ctrl + T.
Step 4
A frame with markers in the form of squares will appear around the tattoo image. By dragging them, you can transform the picture with the tattoo - reduce, enlarge, shrink or stretch. If this is not enough and you need to rotate, skew, deform the image, select the item "Editing" (Edit) - "Transform" (Transform).

Step 5
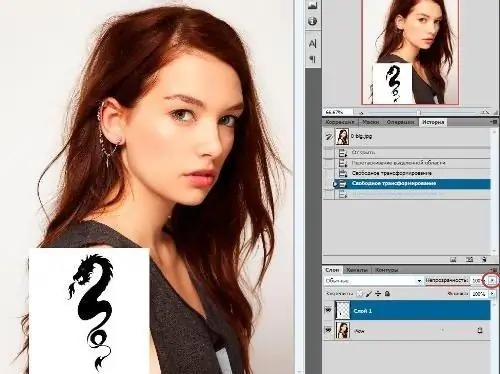
To make the tattoo look more realistic, lower the opacity of its layer. To do this, in the "Layers" panel (Layers), which is located at the bottom right, select the "Opacity" item and move the slider with the mouse until you achieve the desired effect.

Step 6
Now it remains to set the blending mode for the image layer to Multiply. As a result, your Photoshop tattoo should look even more natural. Adjust hue, color saturation, and other settings as needed.


