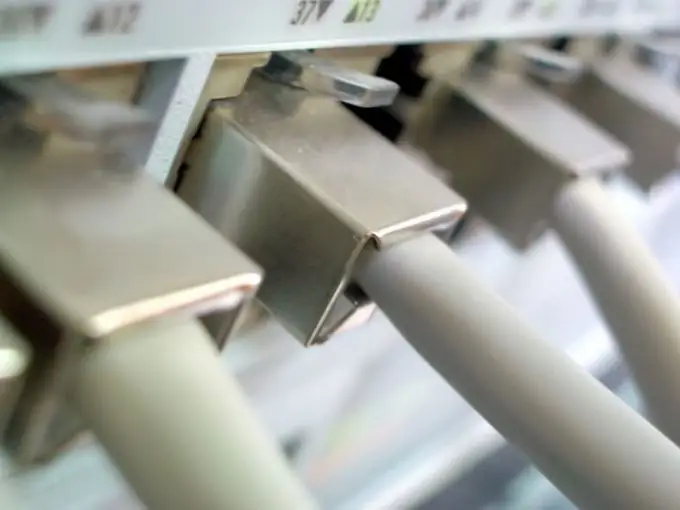
A local network without Wi-Fi is created using Windows tools by wired connection of each computer to one Internet channel. After that, the workgroup is configured, the folders placed on the network, the visibility of computers and the creation of a connection.

Instructions
Step 1
Connect all computers to the same network using a router and cables. After making the connection, select the server computer from which all the settings of the local network will be made.
Step 2
Create a unified working group. To do this, go to "Start" - "Control Panel" - "System and Security". In the list of options that appears, select "System". In the window that appears, click on "Advanced options". You can also call this menu by right-clicking on "Start" - "Computer" and selecting "Properties".
Step 3
In the window that appears, click the "Computer name" tab and click on the "Change" button. In the "Member of:" field, enter an arbitrary name for the local network workgroup, and then click "OK".
Step 4
Go to "Control Panel" where select "Network and Internet". Click on the link "Network and Sharing Center" and then "Change adapter settings". In the list that appears, select your wired internet connection and right-click on it, and then go to "Properties".
Step 5
Click on the line "Internet Protocol version 4", and then click on the "Properties" button. In the IP address field, enter a value like 192.168.0.2. In the "Subnet mask" field, enter 255.255.255.0, and for the "Default gateway" line, enter 192.168.0.1. Enter the same value in the "Preferred DNS Server". For "Alternate DNS" you can specify 192.168.0.0.
Step 6
After applying the received changes, return to the "Network and Sharing Center" and click "Change advanced settings". In the listed profiles, enable Network Discovery, File and Printer Sharing, File Writing and Reading Sharing. Also check the "Disable password protected sharing" option.
Step 7
Share the folder you want. To do this, right-click on the directory you want to open and go to the "Access" tab. Click on "Advanced Setup" and click on the "Share this folder" button. Set the necessary permissions to change the data, then click "OK". Go to the Security tab and then press the Change key. Click "Add" in the window that opens and write "All" in the "Names of selected objects" field. Save your changes.
Step 8
Select your new group and give it full access by checking the boxes next to the corresponding items in the window. Click "Ok". Restart your computer to apply the changes. LAN configuration is completed.


