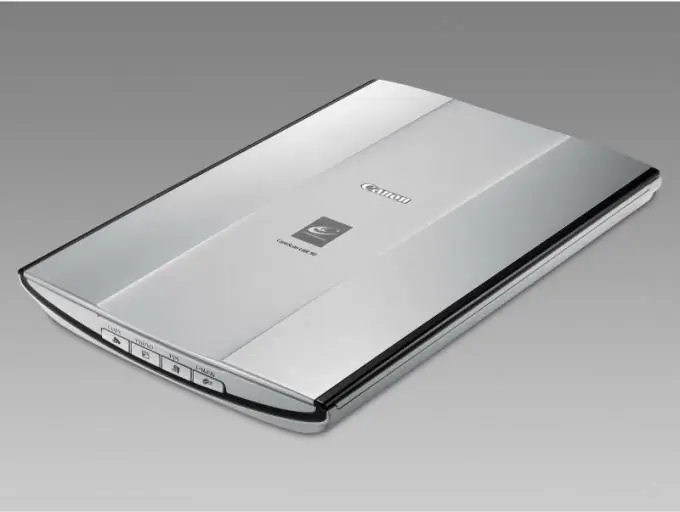
Many users cannot imagine their work at a computer without an MFP, printer or scanner. These devices must be properly connected and configured to perform all required functions.

Necessary
Access to the Internet
Instructions
Step 1
Take the scanner out of the box and install this hardware in the desired location. Modern auxiliary equipment is connected to computers via USB connectors. A USB to USB-B cable is required to connect the scanner to a PC. Connect your device to your mobile computer.
Step 2
Turn on your laptop and scanner. Wait for the operating system to load and automatically detect new hardware. If Windows could not find the appropriate drivers for this scanner, then install them yourself.
Step 3
To do this, it is better to use the disc supplied with the scanner. Insert it into your DVD drive and wait for the startup menu to appear. Install the proposed program.
Step 4
If you do not have the required disc, then try to automatically update the software via the Internet. Open the Device Manager menu and locate the hardware marked with an exclamation mark. Right-click on the name of the connected scanner and select "Update drivers".
Step 5
Specify the "Automatic installation" option and wait for the search for suitable files. If this method has not been effective, then visit the website of the company that produces these scanners. Find the download section and download the software recommended by the company. Install the program and restart your computer.
Step 6
Open Control Panel and select the Devices and Printers menu. Wait while the creation of the list of connected peripherals is complete. Right-click on your scanner's icon and select the Use this device automatically option. Check the connected equipment for functionality. Adjust the parameters of the resulting images using the installed utility.


