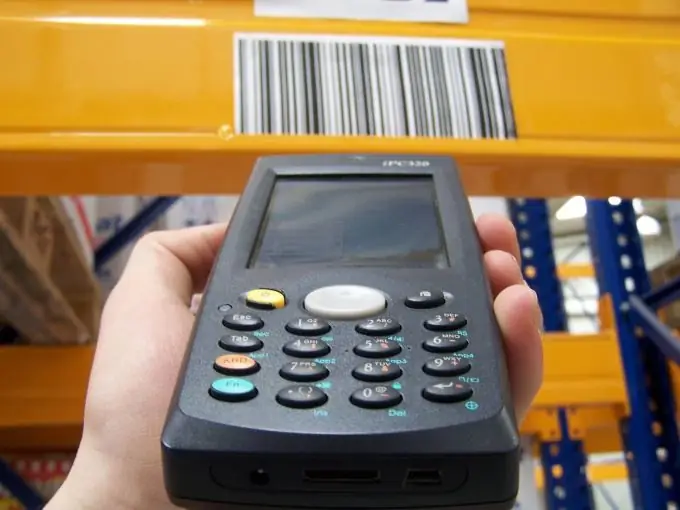
Barcode scanners differ from each other mainly in the interface with which they connect to a computer. It depends on which OS the scanner will be compatible with, and how you will have to configure the POS terminal program.

Instructions
Step 1
If the barcode scanner has a PS / 2 interface, connect it as follows. Be sure to make the connection with the computer turned off. Disconnect the keyboard from the system unit, connect a barcode scanner instead. Connect the keyboard to the scanner. If necessary, use the required number of PS / 2-AT and AT-PS / 2 adapters. Scanners of this type work in all operating systems, including "pure" DOS. After reading the code, they transmit it to the computer, emulating the sequence of keystrokes on the keyboard. The POS-terminal program, accordingly, must be configured in such a way that it perceives the input of barcode numbers from the keyboard.
Step 2
To connect a scanner that has an RS-232 interface, find the corresponding port on the computer. If not, use a COM-USB adapter, but in this case the scanner will only work on Linux and Windows, not DOS. If you are using a POS terminal program designed to work in DOS, run it in the DOSEMU or DOSBOX emulator, and configure the emulator so that the virtual COM port "appears" to the program as real. Configure the program itself so that it accepts input from the COM port, and switched to the keyboard input mode (if it was necessary to enter a hard-to-read code) only at the operator's command. Set the speed and parity correctly. You can connect the scanner to the COM port only when the computer is turned off. The COM-USB adapter can be connected while the computer is on, but the scanner itself can only be connected to it either when the machine is turned off or when the adapter is disconnected from it.
Step 3
A scanner with a USB interface can also be connected to a computer that is turned on. Before using it, read the instructions exactly how it interacts with the machine. If it emulates a USB keyboard, then it can be used in DOS as well, but only on condition that the computer's BIOS takes over the work with such a keyboard, creating the impression for running programs that a regular PS / 2 keyboard is working. If the scanner emulates a virtual COM port, it will not work in DOS. In the first case, configure the program to enter data from the keyboard, in the second - from the COM port.
Step 4
If the scanner uses a non-standard interface, install the supplied interface board into the computer (it must be turned off), and then connect the scanner to it. Then turn on your computer and install the software also included with your scanner. Such a device is compatible only with the OS (and possibly with the POS-terminal program) for which the software included in its package is designed.
Step 5
Connect the power supply to a scanner that is powered by external power before turning on the computer.
Step 6
To check if the scanner is working properly, launch a text editor (if the scanner emulates a keyboard), or a terminal program (if it works with a real or virtual COM port). In the second case, configure the program to work with the port to which the scanner is connected, set the speed and parity correctly. Be sure to close the POS terminal program. Scan any code with the scanner - the corresponding numbers should appear on the screen. A scanner with a non-standard interface cannot be tested in this way.


