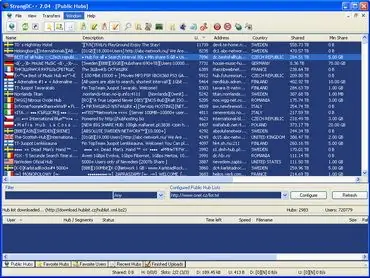
Strong DC ++ is one of the most popular clients designed to work in file-sharing networks operating on the basis of "sharing" resources. Convenient search, flexible filtering system, powerful options for adjusting download and upload speeds, the ability to automatically search for alternative sources instead of too slow ones, and even a built-in chat for discussing download-related issues.

To set up Strong DC does not require special knowledge and skills. Just follow these steps:
- Download the Strong DC ++ distribution and run it. The installation does not differ in any special features, just follow the instructions of the wizard.
- Run the program, open the File - Settings menu. In the "General" section, you must enter your nickname, email address, as well as a description of the information that you plan to share with other members of the file-sharing network. It is also necessary to indicate the maximum upload speed with which the program is allowed to send files.
- In the "Download" section, check and, if necessary, correct the paths for storing partially and completely downloaded files. Here you can set the download speed limits.
- As a rule, to participate in file sharing, you also need to provide some information for general use, usually at least 5 GB. You can specify the folders that other members of the file-sharing network will have access to in the "Shara" section. After selecting a folder, you will need to specify its "external" name, under which it will be visible to other network users. The process of caching the files will begin, which may take some time, especially if the files are large. Fortunately, the caching progress window can be hidden by clicking the Send to background button.
- In the "Recoil Slots" section, specify the number of slots. Some hubs require at least 5-7 slots.
- Close the configuration window. It remains to configure Strong DC to work with the hub. Press Ctrl + F or the Favorite hubs button (yellow asterisk). Press the "New" button, enter the hub address and its name, save the settings. Now double-clicking on the name of the hub will allow you to connect to it and start downloading. In addition, you can select the checkbox to automatically connect to the hub when the program starts.


