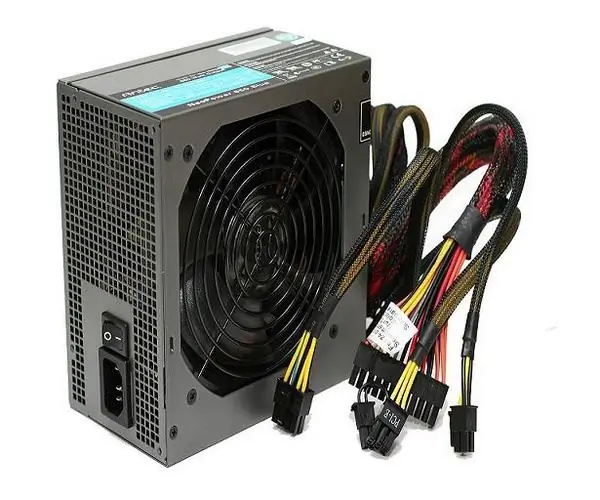
When there is a need to replace components in a computer, of course, you can contact a specialist. But, firstly, they do not work for free, and secondly, they are not always available at hand. At the same time, the replacement of computer parts is not technically difficult. All that is needed is a screwdriver and accuracy.

Necessary
computer, power supply, small Phillips screwdriver, minimal computer skills,
Instructions
Step 1
All described operations should be carried out with the computer power off. Disconnect the power cable from the system unit.
Step 2
Open the side case cover from the access side of the motherboard connectors. The power supply is most often located above the board, but there are other options as well. Find it.
Step 3
There are cables from the power supply to the components inside the computer, you need to disconnect them. Gently pull the power cables out of the hard drives and optical drives. If the power cable is connected to the graphics card, also disconnect it by pressing the release latch.
Step 4
Remove the primary and secondary power cables from the sockets on the motherboard. They are also equipped with latches that must be folded back. Pull the cables out carefully, you can shake them slightly in the socket, but do not use excessive force. Make sure that all wires inside the computer that come from the power supply are disconnected.
Step 5
Remove the four screws that secure the power supply to the chassis. They are located on the rear panel. At the same time, hold the power supply unit with your other hand so that it does not fall inside the case on something important.
Step 6
Carefully, slowly pull the power supply out of the case. This may require removing the optical drive or CPU cooler, but in most modern cases this is not necessary.


