Even amateur digital cameras today allow very long continuous shooting. The resulting video is not very convenient for further storage and viewing. In some cases, it makes sense to cut it into separate fragments. This can be done in the powerful editor Sony Vegas.

Necessary
- - original video;
- - installed editor Sony Vegas.
Instructions
Step 1
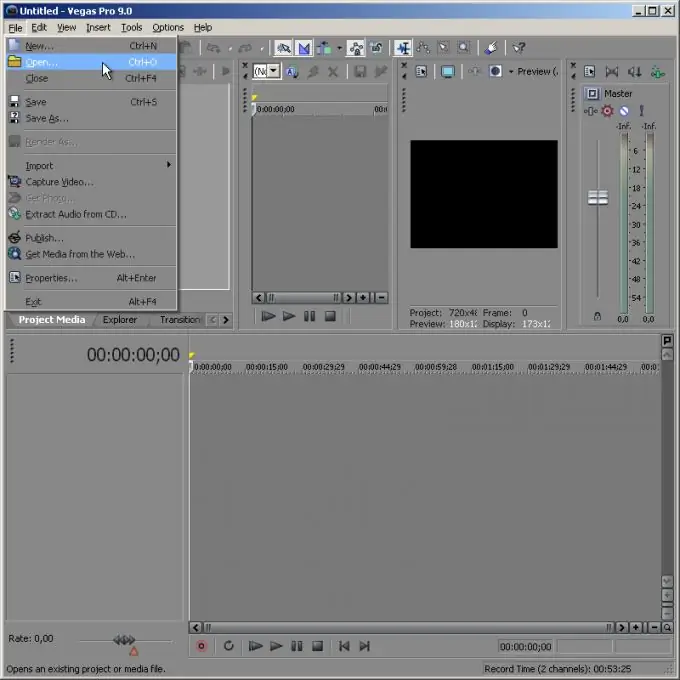
Open the video you want to cut in Sony Vegas. Select "Open …" from the main menu or press Ctrl + O. In the Open dialog specify the required file and click "Open".
Step 2
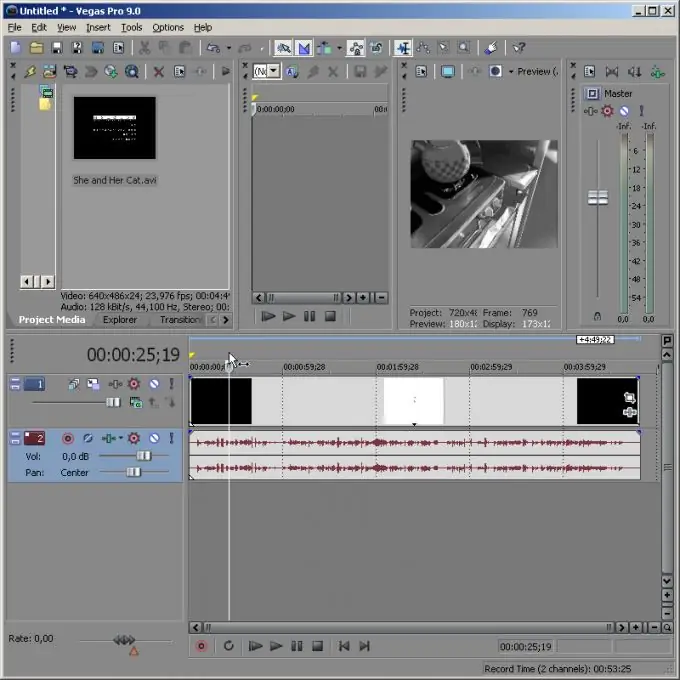
Determine where the video should be cut. Use the mouse to move the slider, which is the pointer of the current frame, in the timeline-panel (it also displays the “storyboard” of the active clip). Analyze the image in the Video Preview panel to find the frame you want.
Step 3
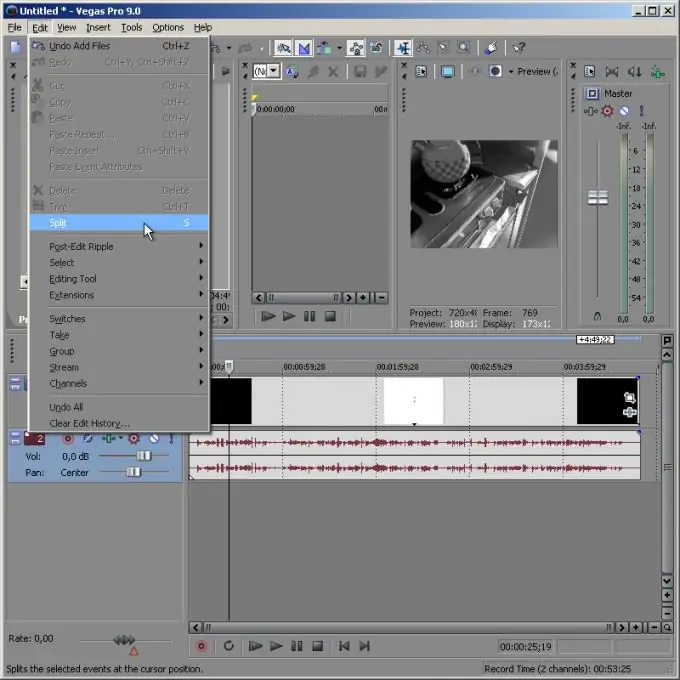
Cut the video. Choose Split from the Edit menu. Alternatively, you can simply press the S key.
Step 4
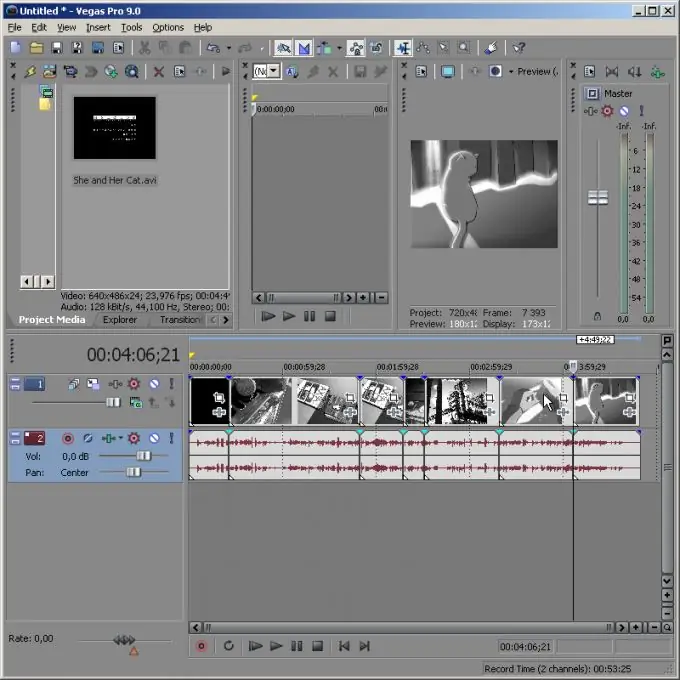
If you need to cut a video in order to get its fragments as separate files, follow the steps described below. Continue to cut the video in the desired places as described in steps 2-3.
Step 5
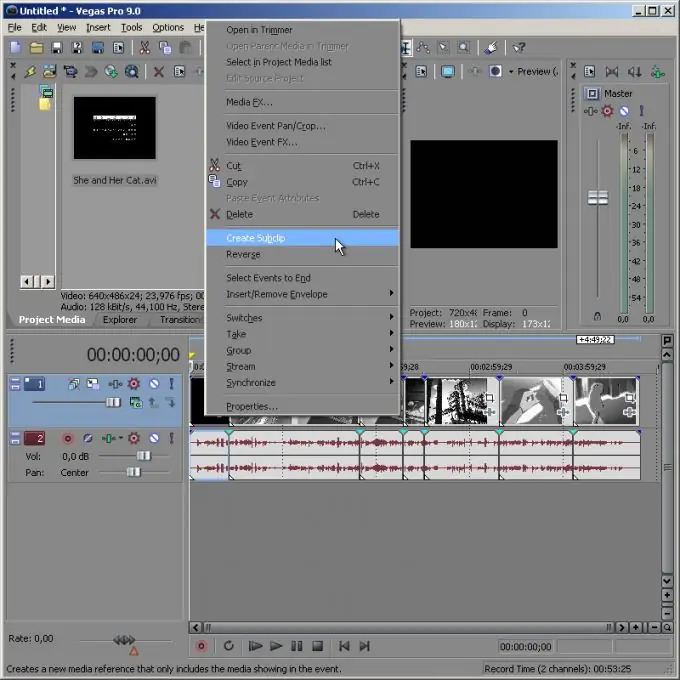
Create nested clips from cut slices. In the timeline panel, right-click on them. Select Create Subclip from the context menu. The clips you create will appear in the Project Media tab.
Step 6
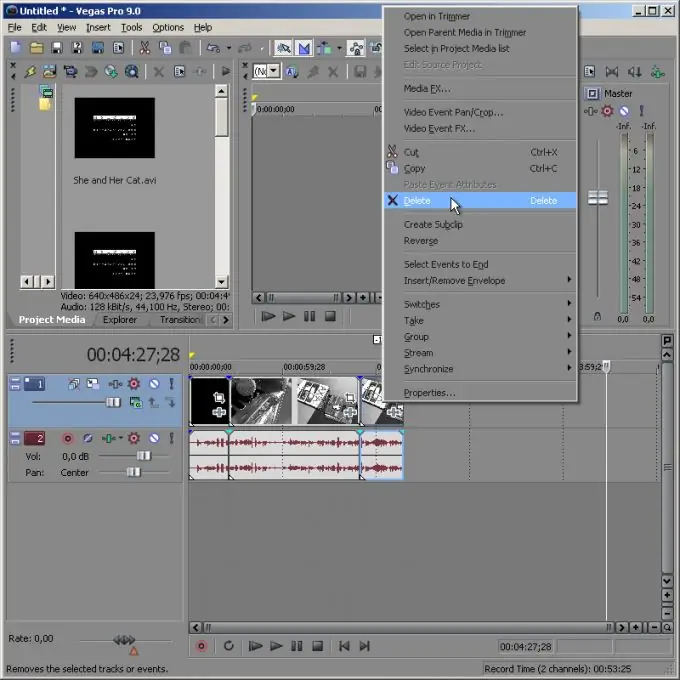
Remove all fragments from the timeline panel. Make a selection by clicking on them with the left mouse button. Select the Delete item in the Edit section of the main menu, in the context menu, or simply press the Del key.
Step 7
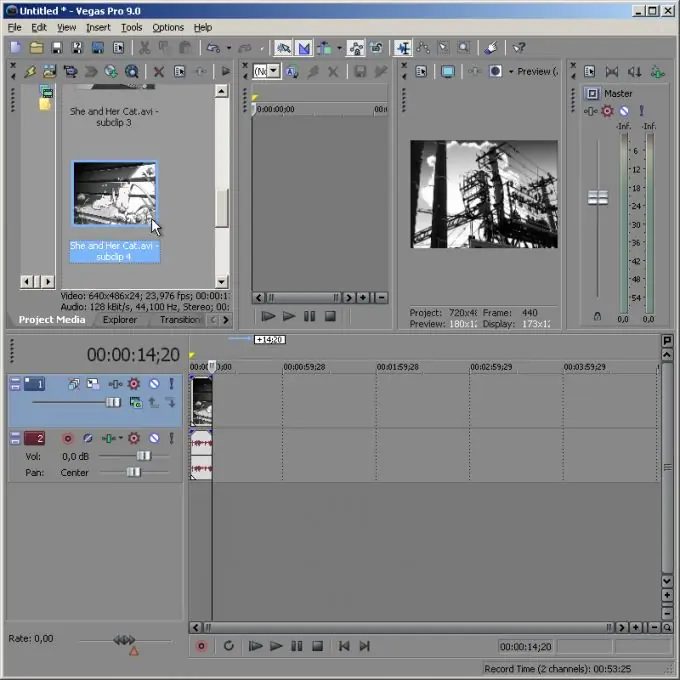
Add one of the nested clips from the Project Media tab to the timeline panel. Double click on the corresponding element.
Step 8
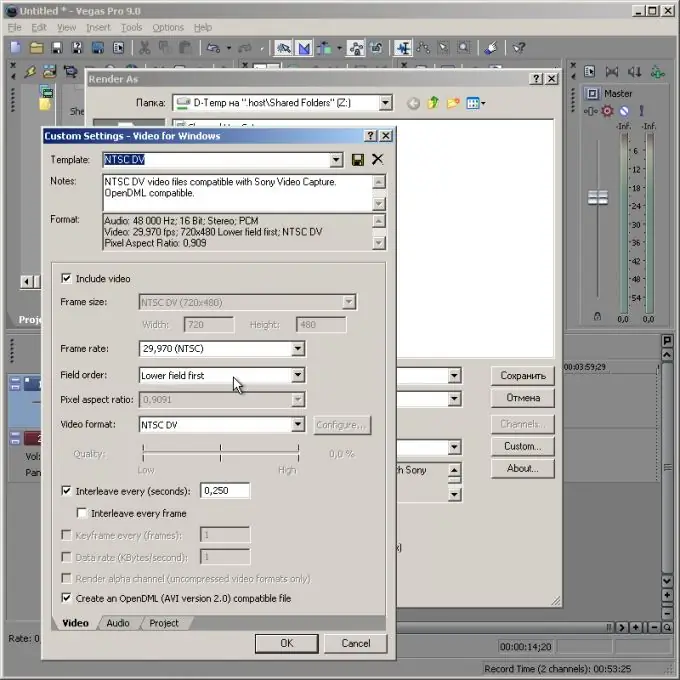
Start exporting the video clip to a separate file. In the main menu, select the items File and "Render As …". A save dialog will appear. Enter a file name in it and select one of the predefined formats. If you need to change the export parameters, click on the "Custom …" button. Change the options, click on the OK button.
Step 9
Save the video to a file. Click the Save button. Wait for the end of the encoding process. Follow steps 6-9 for other nested clips to keep the rest of the sliced clips.


