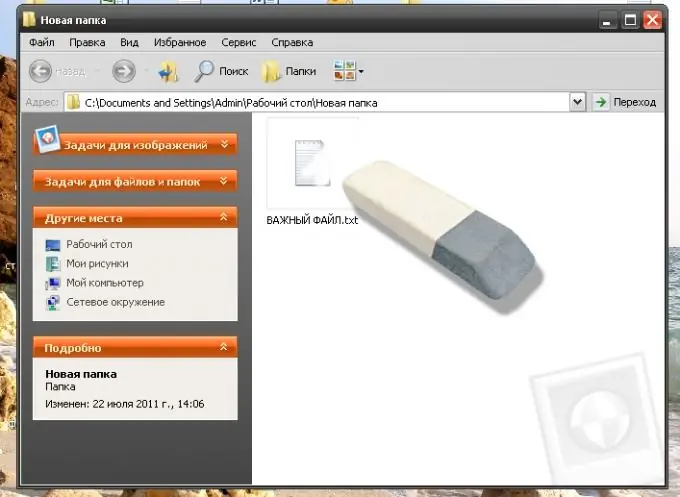
The file recently deleted from the computer was suddenly needed urgently. Don't get discouraged ahead of time. There are a few easy ways to get your desired file back safe and sound.

Necessary
Computer, Recuva or Objectrescue Pro
Instructions
Step 1
If you erased files by pressing the Del button on the keyboard, or using the "Delete" item in the command menu, you did not completely delete them, but only sent them to the Windows Recycle Bin. This is a kind of protective mechanism of the operating system against rash actions of the user. The Recycle Bin is a special section of the computer where files are sent to be deleted. They will remain in the trash until you decide what to do with those files. They can be restored or completely removed. To restore you need to do the following. Double click on the "Trash" icon. Here you will see the files that have been deleted. Select the desired file and click on it with the right mouse button. In the list of commands that appears, select the "Restore" item. The file from the "Recycle Bin" will disappear, but it will appear in the folder in which it was before deletion.
Step 2
You may have completely deleted the file from your computer, that is, deleted it from the Recycle Bin. In this case, you can recover data using one of the special programs. Among them there are paid ones and there are free ones. As a rule, paid ones have an additional set of functions and a more convenient interface. Let's look at both types using examples of the free Recuva program and the paid Objectrescue Pro.
Step 3
Download the Recuva installation file, install it and run the program. After clicking the "Next" button, you will be taken to the program window, in which you can select the types of files to recover. After choosing the file type, go to the window in which you can mark the disk on which the required file was located. Click on the Analyze icon next to the selected drive. You will be presented with a list of files that can be recovered. Check the boxes you need and confirm with the "Restore" button. An additional window will appear in which you will have to select a location to save the file. Click "OK" and wait for a message about successful recovery. The file has been restored.
Step 4
Launch the preinstalled and activated Objectrescue Pro program. In the window that appears, click "Next". You will be taken to the program area, which contains a list of disks on your computer. Select the one on which the erased data was located and confirm the selection with the "Next" button. In the next window, you can select the types of files you want to find. Check the required types with checkboxes. We proceed to the next stage by clicking "Next". You are offered to choose from two types of disk space scanning. The first option "Scan free space only" is much faster than the second, but the chances of finding the file using it are lower. Click next and get to the window for choosing the location for saving the recovered data. You need to select a folder to save on any other disk, except for the one on which you are looking for files. There is also a check mark next to the item for automatic file recovery. You can use this item only when searching for a small number of files. Otherwise, the recovery process may take a long time. Press the "Next" button and observe the process of searching for files. Upon completion of the search, you can go to the list of found files that can be restored. File icons are marked in pink. To restore files, select them and click the "Restore" button. We can once again clarify the path to save the recovered files. After confirming the actions with the "Ok" button, the files are restored. Now you can go to the folder with the saved files and make sure that all the required data is present.
Step 5
Unfortunately, not all files can be restored by an unqualified user. If your actions did not bring the desired result, contact a specialized data recovery company or one of the computer service centers in your city.


