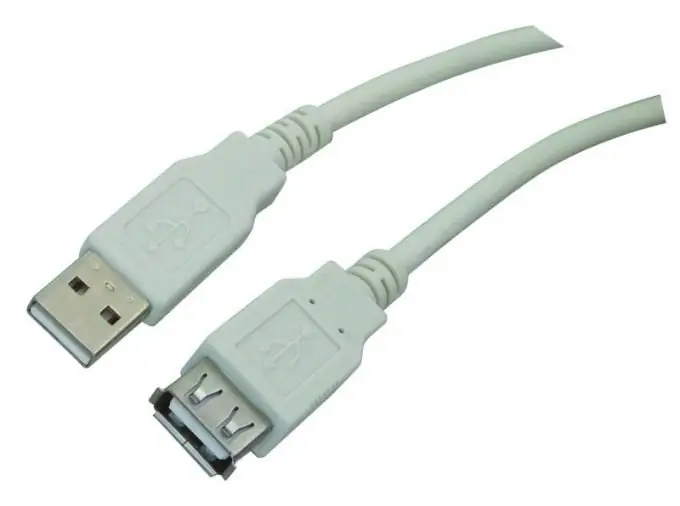
Altering the USB cable yourself at home is carried out solely at the user's own risk and risk, since this is a task for people with certain special knowledge of radio engineering. This is often required for reworking cables that are not intended for flashing, for example, Chinese phones.

Necessary
- - additional USB cable;
- - tester;
- - cable on the PL-2303 microcircuit.
Instructions
Step 1
Purchase an additional USB cable to be used directly in the process. Purchase one more additional Profilic type cable on the PL-2303 microcircuit or similar to it. Keep in mind that wires without old-style ICs will not work.
Step 2
Find the pinout of the cable (its contacts). Usually, such information is easy to find on the Internet, in particular on the sites gsmforum.ru or unlockers.ru. If you haven't found the circuit you need, one made by yourself will do.
Step 3
Switch off your phone, insert a fully charged battery. Make a pinout that would suit your particular device model, here you will need to use a tester, ohmmeter or voltmeter.
Step 4
Find GND. In the tester, change the mode to determine the resistance (should not exceed 2000 kOhm) on the minus of the battery connector in the phone and move the other end over the contacts of your cable where the meter readings will be at 0 - this will be Gnd. It is also easy to find by disassembling the connector on the cable that connects to the mobile device. In this case, it will be the black wire.
Step 5
On the multimeter tester, set the mode for viewing voltage measurements (DCV, 20V), this is necessary to search for VCC. Hold one end to GND while running the other across all the other pins at the same time. The area with the highest battery voltage will be VCC.
Step 6
Put the multimeter back in the voltage measurement mode, set one contact to GND and swipe the other across all pins, each time touching the new one, press the start button of your phone, but not turning it on, but simply pressing once.
Step 7
Find the pins where the voltage will be 2.7-2.8 V, this will be RX and TX. Then solder GND, RX and TX to the board. Your converted cable is ready and can now be used for flashing.


