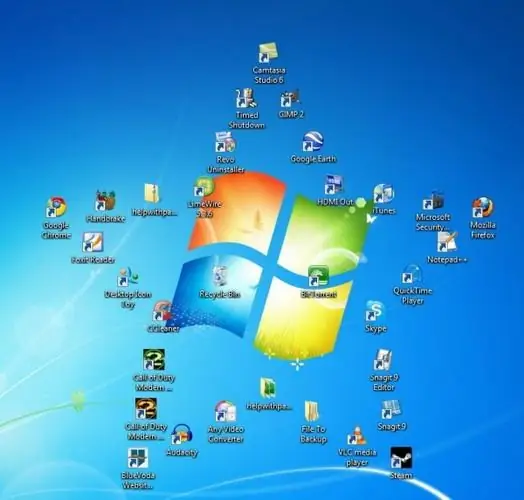
The Windows operating system gives the user of a personal computer enough opportunities to change the look of the desktop and optimize it to suit his tastes and needs. You can change the splash screen, background, toolbar layout, and more. In addition, you can resize your desktop shortcuts.

Necessary
a computer with a Windows operating system (XP, Vista, Windows 7), basic computer skills
Instructions
Step 1
To increase the size of the shortcut in Windows XP, use the Display Properties menu. To open it in the "Control Panel" (click the "Start" button, select the "Settings" line, and in it - the "Control Panel" tab) select the appropriate item. It is called "Screen", place the cursor on it and press the "Enter" key. You can open the display properties window using the context menu. To do this, right-click anywhere on the desktop. In the list that appears, select the "Properties" line.
Step 2
In the "Display Properties" menu, go to the "Appearance" tab, place the mouse cursor on the "Effects" button and click on it. In the window that appears, check the box next to the "Use large icons" line. Click "OK", the size of the shortcuts will increase.
Step 3
To increase the size of shortcuts in Windows Vista, place the cursor in a free area of the screen and press the right mouse button, in the menu that appears, move the cursor to the "View" line and select the type of shortcuts. The largest are called “Large” Select this option. The icons will be resized immediately after that.
Step 4
In the Windows 7 operating system, the size of the desktop icons is set in the same way as it is done in Windows Vista. The only difference is that the menu bar to be selected is here called Large Icons.


