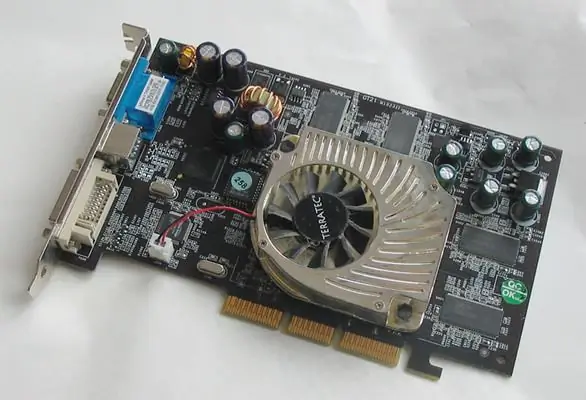
Modern graphics cards have powerful processors that generate a lot of heat. To cool the cards, heatsinks with additional cooling coolers are used. Over time, these fans become clogged, covered with a layer of dust and completely fail. Accordingly, the cooling level of the video card also drops. There is a risk of overheating of the graphics adapter processor and its failure. In such cases, you should clean or replace the video card fan.

Necessary
Computer, graphics card cooler, watch screwdriver
Instructions
Step 1
Disconnect the system unit from the mains. Unscrew the fastening screws and remove the cover of the system unit. Disconnect the monitor cable from the video card. Remove the screw that secures the video card to the system unit. If a separate power cable goes to the video card, disconnect it. Then remove it from the slot and pull it out of the system unit.
Step 2
Take a close look at how the fan is attached to the graphics card. It is usually attached with four self-tapping screws at the corners of its frame. You can unscrew these screws with a watch screwdriver. If such a screwdriver is not available, you can use other available tools (for example, a knife). Now that the cooler is disconnected from the video card, you need to remove the power supply cord to it. Just pull the power cord towards you and remove it from the connection interface.
Step 3
Now you can clean and lubricate the cooler. A damp cloth works well for cleaning the fan blades. In order to lubricate the fan, you need to remove the sticker from the front. It is located on the side of the fan, which faces the radiator. You must not mix it up, because there are no other stickers there. Remove this sticker from the fan. To do this, pick up its edge with a blade and simply peel it off. You will then gain access to the fan bearing. Drop a drop of machine oil into the bearing, and then stick the sticker back.
Step 4
To connect the fan, first put the cooler in place and plug it into the power connector. Then put the video card back into the slot and fix it with the screw. If necessary, connect power to the video card.
Step 5
Without closing the lid of the system unit, turn on the computer. Check the operation of the video card cooler. If there are no complaints about the fan operation, turn off the computer and close the system unit lid. Connect the cable from the monitor to the video card.


