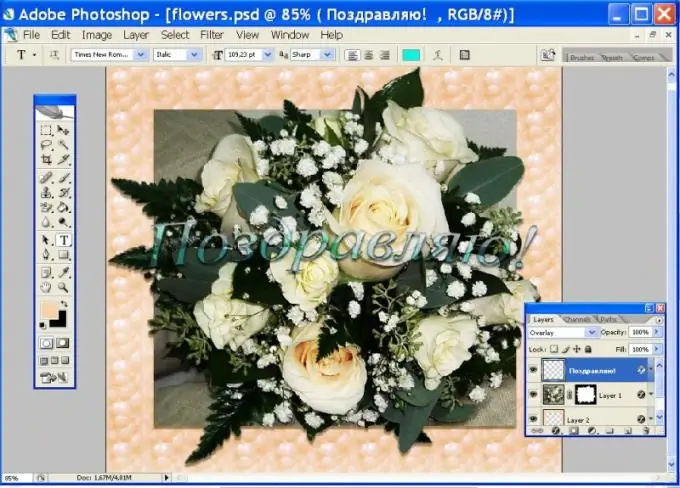
The graphic editor Adobe Photoshop allows you not only to process photos, but also to create colorful collages, various animations and original greetings. In Photoshop, you can make a voluminous postcard using your favorite photos and some of the tools of this wonderful editor.

Open the image you are going to work with. Create a new layer on which you will draw the frame. This can be done by clicking on the icon at the bottom of the layers panel, or by pressing Ctrl Shift N. Press the Latin key M to activate the "Selection" tool, and with a new layer active, select a rectangle on the main image, offset from the edges by the width of the future frame. Press Ctrl Shift I to invert the selection.
On the toolbar, select a color for your frame and fill the selection with the Paint Bucket Tool. Remove the selection with the Ctrl D keys and move the layer with the image up in the layers panel. Press Shift Ctrl D to restore the frame selection. In the menu Layer ("Layer"), select the commands Layer Mask ("Layer mask") and Hide Selection (Hide selection). Now the edges of the picture are hidden by the frame.
Double click on the frame icon in the Layers panel and select Pattern from the Style Panel. Find the right pattern for the frame. Go to the Bevel and Emboss section and adjust the settings so that the frame looks three-dimensional.
Press the Latin letter D to set the foreground color to white, and activate the Brush Tool ("Brush"). You should now have an active layer mask, i.e. surrounded by a black frame. With a white brush, start tracing where you want the image to overlap the frame. To hide the image, paint over it with a black brush. Thus, you get a voluminous postcard.
Now double click on the image thumbnail and select Drop Shadow from the Styles palette. Adjust the color and opacity settings for the shadow so that the drawing looks harmonious.
On the toolbar, press the letter T to label it. In the property bar, select the appropriate font and style. After you have made the inscription, click on its layer in the layers panel with the right mouse button and check the Rasteryse Type item. Now you can work with this layer as with a normal image. Double click on the icon of the caption and in the style panel select the appropriate parameters for the caption: fill, shadow, volume.


