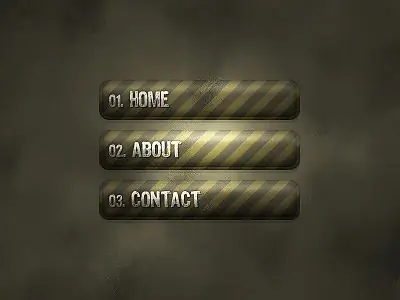
Easy navigation is the key to making a website comfortable to visit and attractive to both the owner and online visitors. Menu and navigation elements should be clear, nice and concise, and it is a good idea to create attractive buttons for your website in the graphics editor Adobe Photoshop. This is not difficult to do.

Instructions
Step 1
Create a new document and select the Rounded Rectangle Tool from the toolbar. Draw a narrow rounded rectangle, then select the Elliptical Marquee Tool from the Toolbox and draw a circle on the left side of the rectangle that overlaps its edges and goes beyond it.
Step 2
Right-click on the rectangle layer and select the Rasterize Layer option, and then in the center of the selection, click again and select the Layer via Cut option from the context menu to copy the selection to a new layer.
Step 3
Open the layer settings menu and in the Drop Shadow tab set the blending mode to Normal, the opacity to 23%, and the distance to 3 pixels. In the Color Overlay tab, set the desired color with the blending mode Normal and transparency at 100%. You should have a two-color image.
Step 4
Select the Elliptical Marquee Tool from the Toolbox again and draw a circle inside the left color selection. Click Delete. After that transfer the selection to a new layer and fill it with any color.
Step 5
Open the Layer Style menu again and adjust the Gradient Overlay tab in any colors that suit your site's color scheme. Set the radial style to the gradient. Then, in the Stroke tab, set the stroke weight to 2 pixels, the outer position of the path, and the opacity to 30%. Select a gradient fill for the stroke. Click OK.
Step 6
In the toolbox, select a brush with white color, adjust it so that it is soft, and the diameter of the brush is 10 pixels. At the top right of the circle you painted, draw a dot to draw a highlight.
Step 7
Then select the layer with the main part of the button and in the Layer Style menu set the Inner Shadow parameter with the Multiply Blending Mode and the Opacity of 33%. Set a linear gradient with 25% opacity. Your button is ready - all that remains is to add an inscription to it.


